Top
Chronica 2 for iPhone User Guide
# If the screen of the app is heavy, please exit other apps.
|
Exit Method of Apps on iOS7.x or upper :
- Press the home button twice.
- Slide other app screen to upper.
|
1. Abstract
Chronica is an application that a chronological table of individual/organization etc is made easily and to display.
You can graspe easily the historical background of each person. You can arrange more than one chronological table on one screen, and it can be indicated too.
It has already contained historical persons and data etc. chronological data.
#
Mac Edition(Plus),
Windows10 Edition are available.
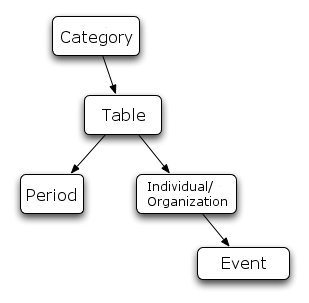
1.1. Data Structure
This picture is the data structure of this app. The data own the data directed by the arrow.
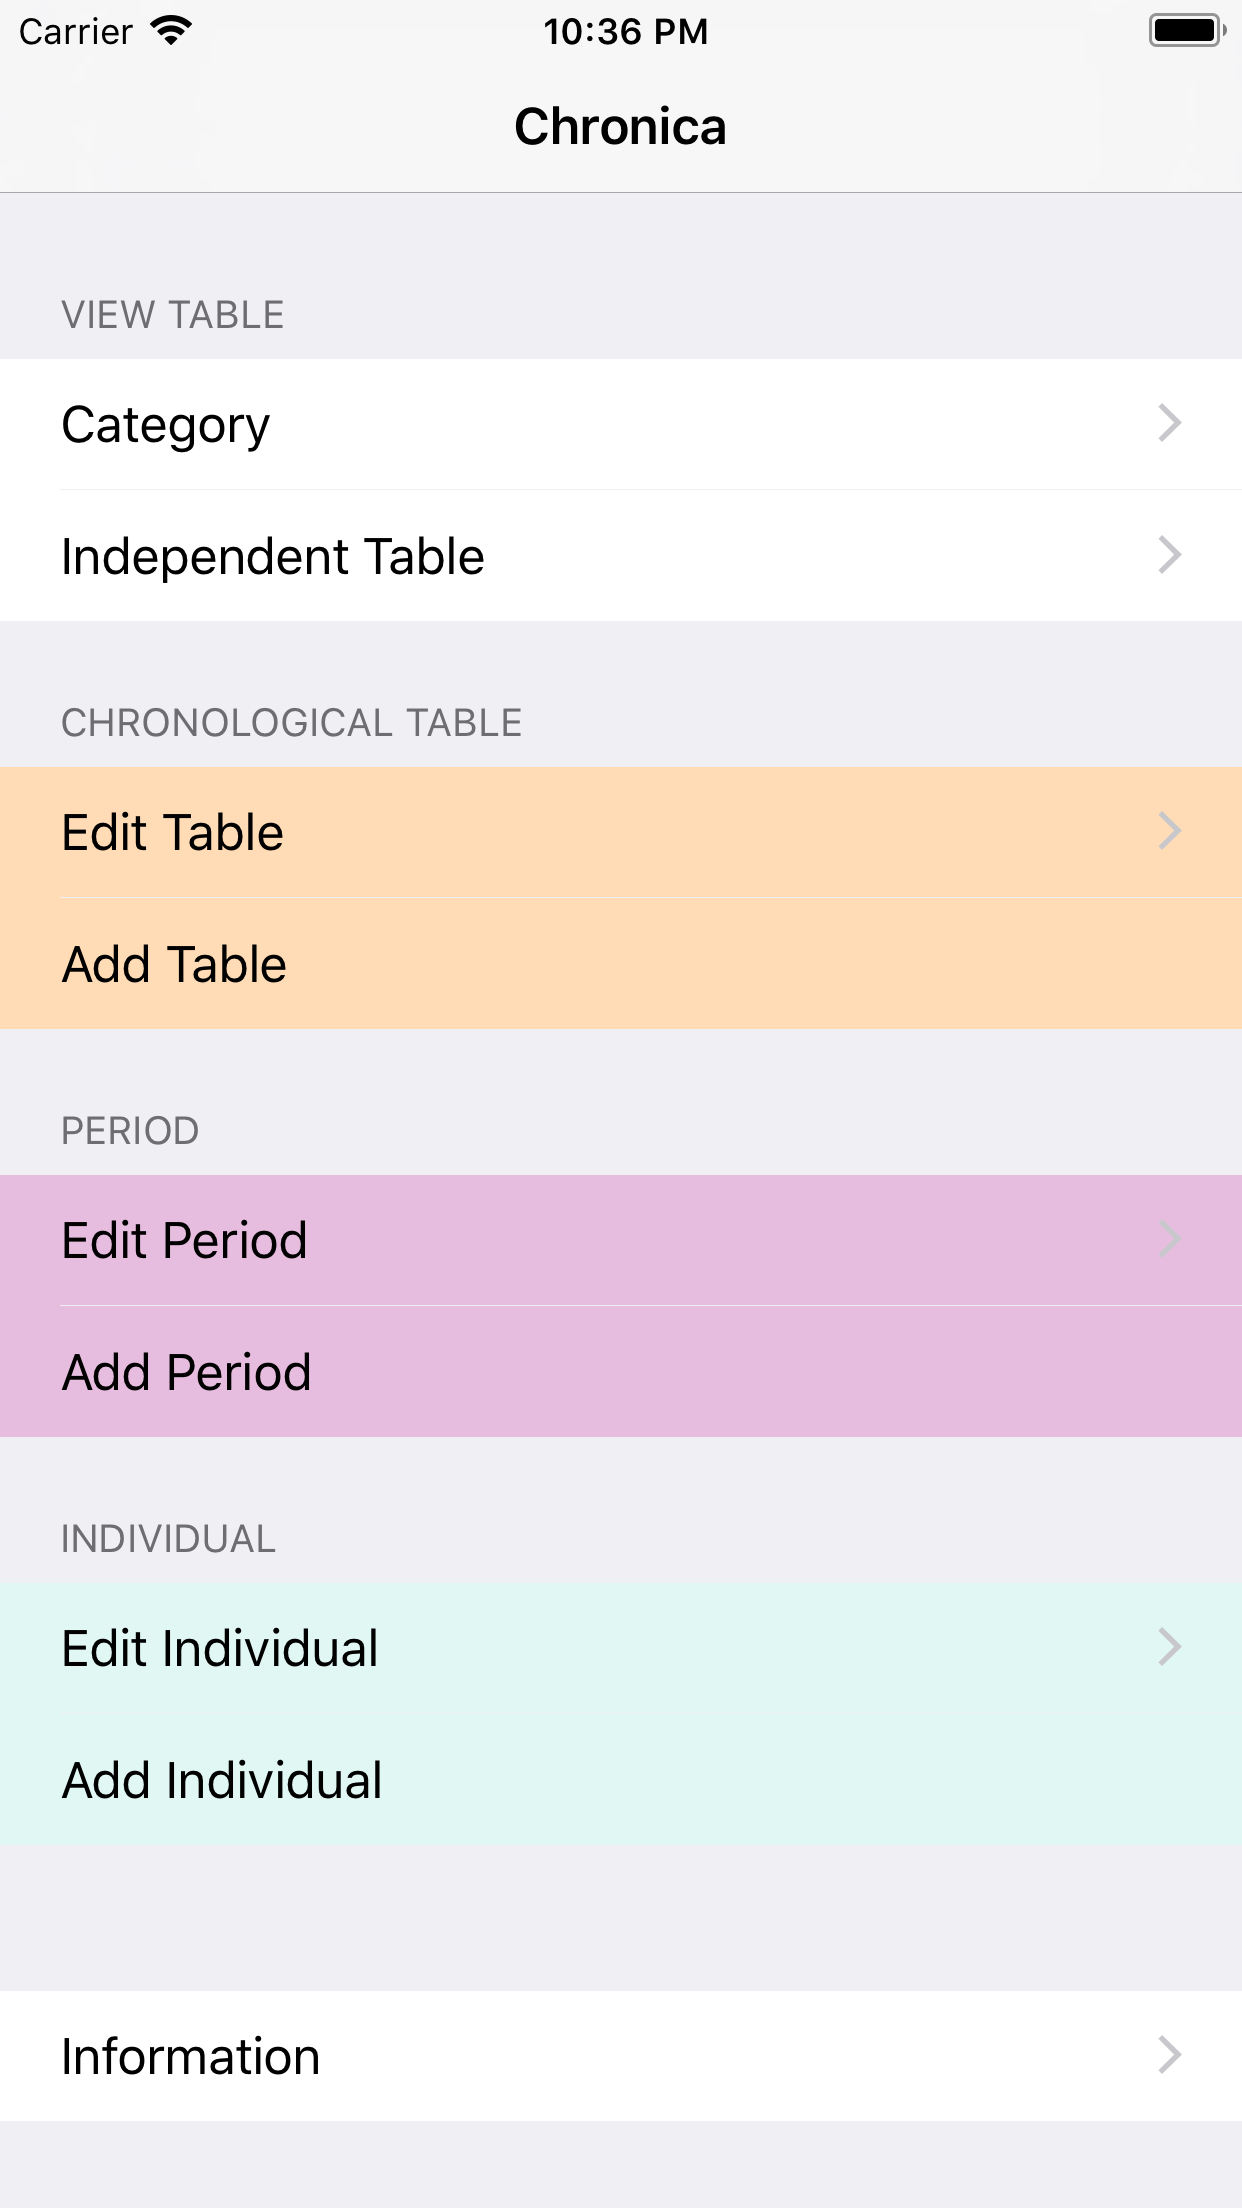
2. Main Menu
|
|
Category
Item
Display the chronological table. It's grouped by category.
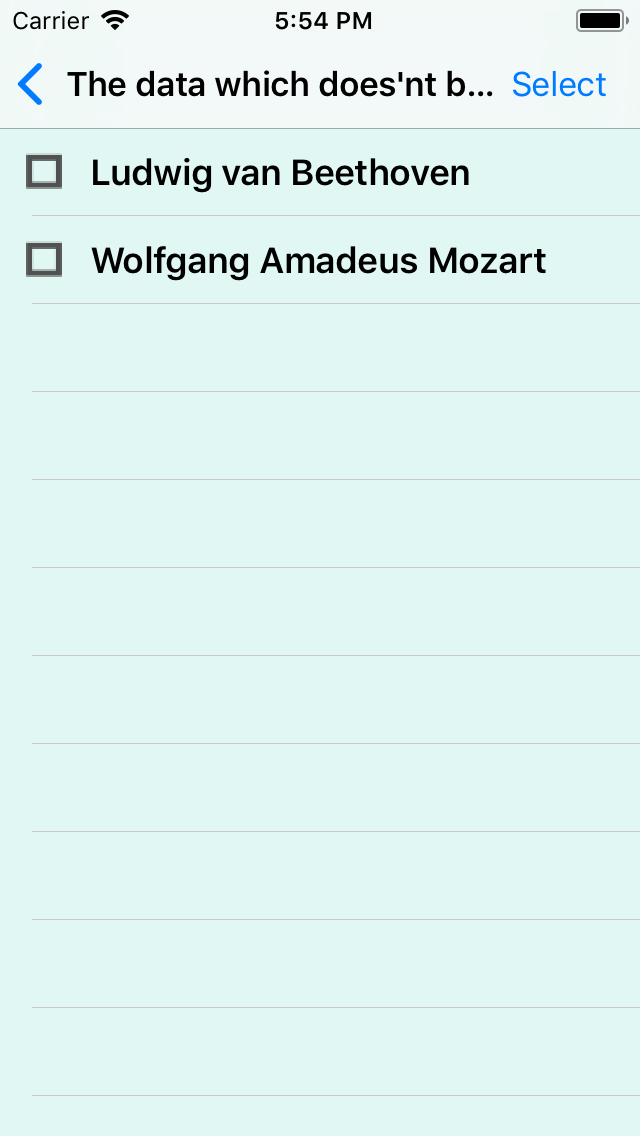
Independent Table Item
Display the chronological table which is not belonged to the category.
Edit Table
Item
Choose
the individual who composes a chronological table, data such as
organization, and the name of the chronological table can be changed.
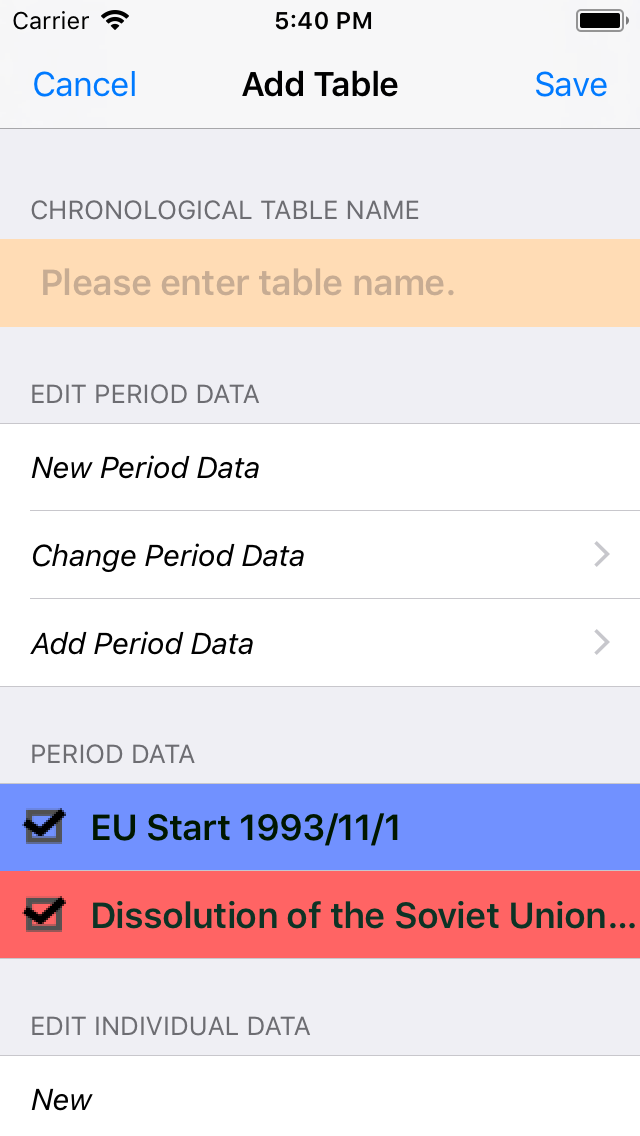
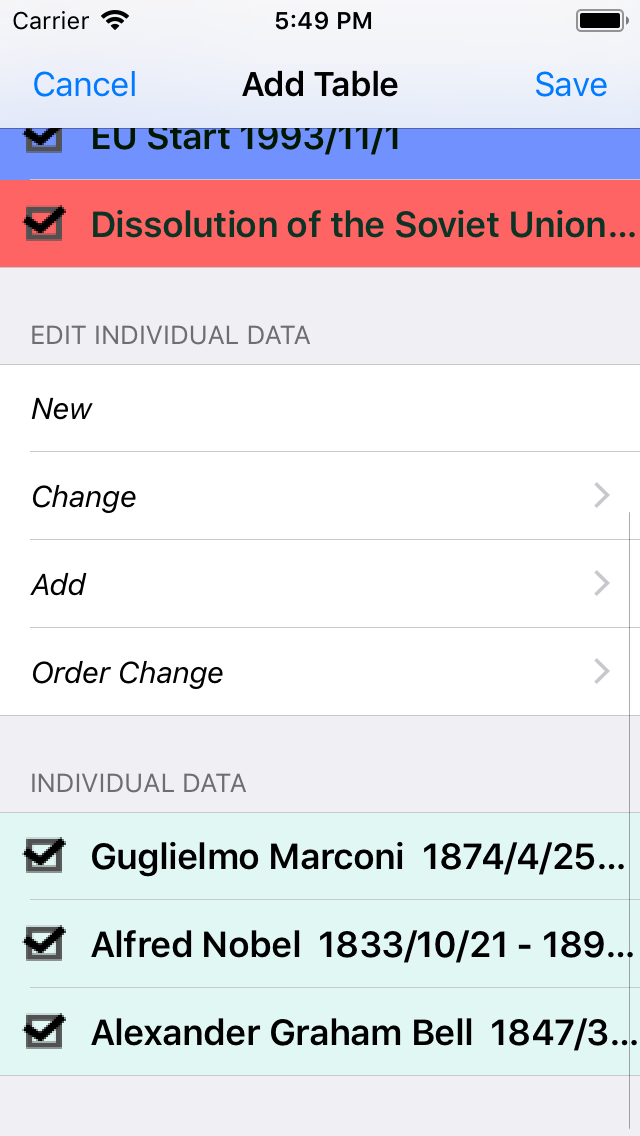
Add Table
Item
Enter a name and data to
construct, and make data on the chronological table.
Edit Period Item
Change the contents of
registration of the period data.
Add Period Item
Add an period data.
Edit Individual Item
Change the contents of registration of the individual and the organization.
Add individual Item
Add an individual and organization.
Information Button
Display the Information screen include " Setting" button.
|
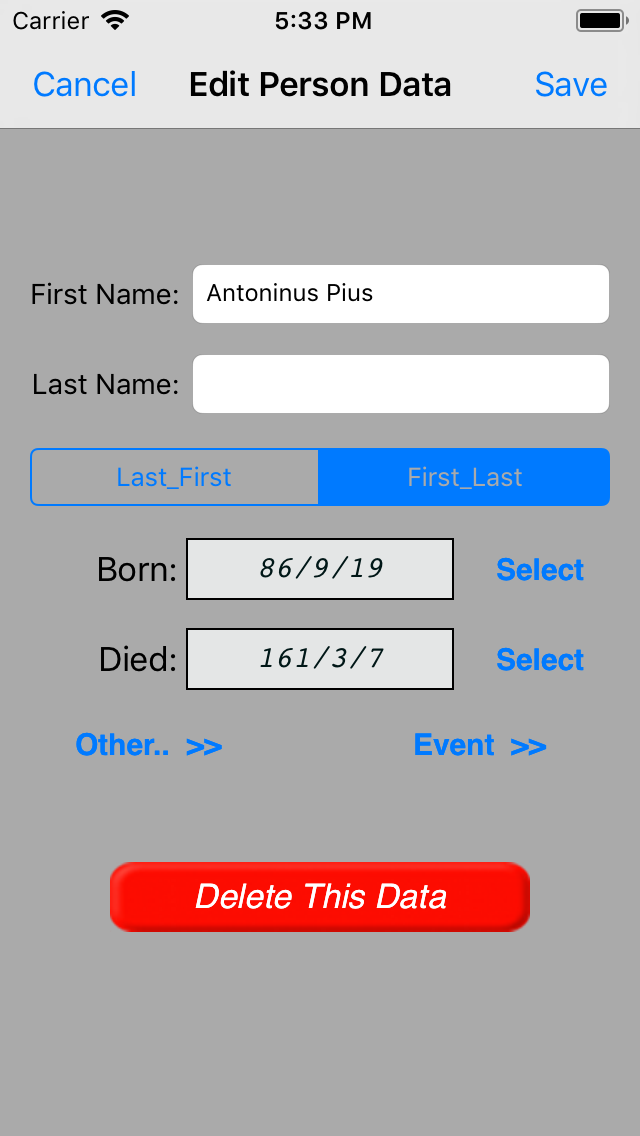
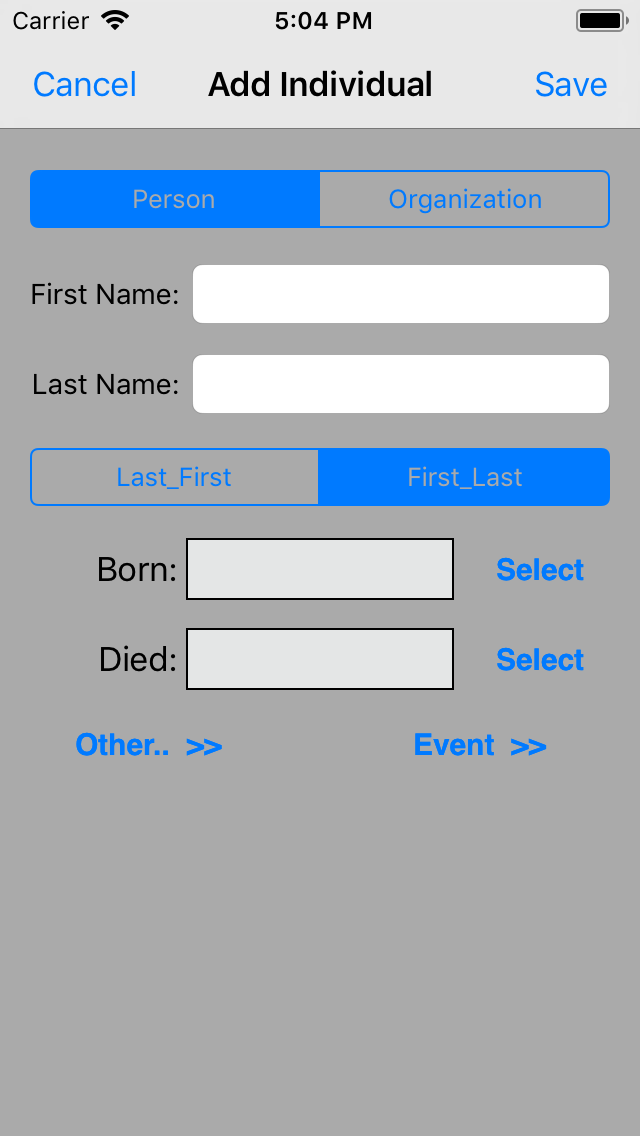
3. Add Individual Item
This screen is for making new individual / organization data.
In the
Person mode, the individual data provided that
Last Name or
First Name,
the date of Born are indispensable items.
In the
Organization mode, the individual data provided that
Name are indispensable items.
|
|
[ Person | Organization ] button
The screen mode can be changed. The input items are changed for each mode.
[ Last_First | First_Last ] button
The order of the name items can be changed.
Born/Died Select button
Tap to open the Date Setting screen.
Event >> button
Tap to open the Event List for setting of the event.
Other.. >> button
Tap to open the Other Setting screen.
|
|
|
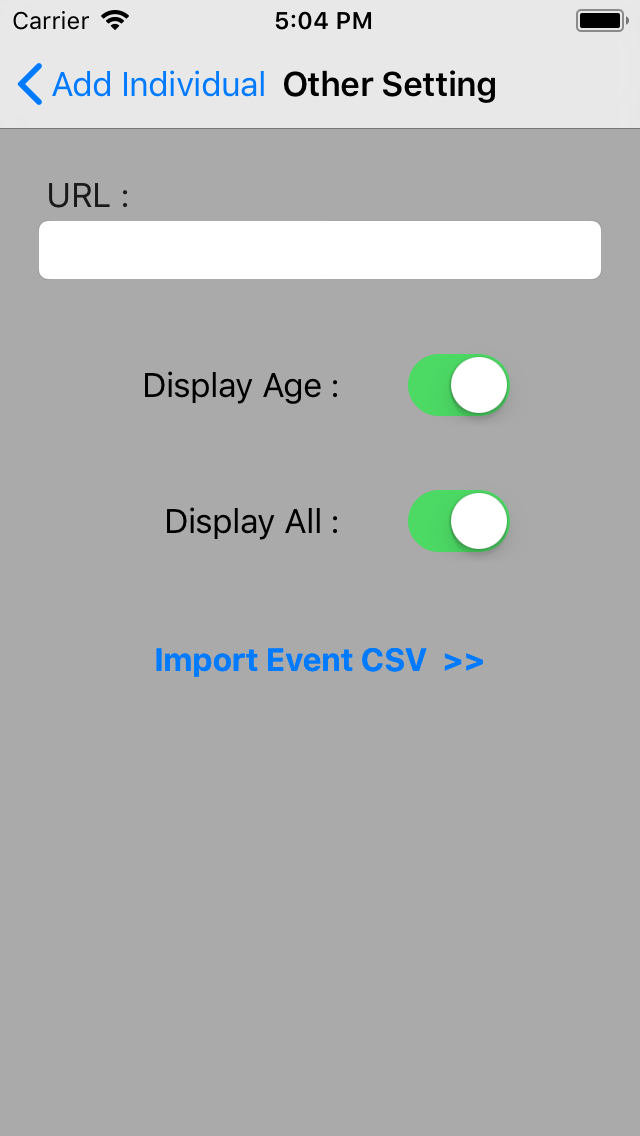
- URL
-
This URL value is used on Table Display screen.
The name of its screen is linked to this URL value.
- Display Age switch
- On Table Display screen,
if this switch is ON, the age number is drawn,
if this switch is OFF, the age number is not drawn.
It's possible only person type.
- Display All switch
- On Table Display screen,
if this switch is ON, the range between born the start date(Born:) and the end date(Died:) is displayed,
if this switch is OFF, the range is fitted to other data.
- Import Event CSV >> button
- Tap to open the Event Import screen.
|
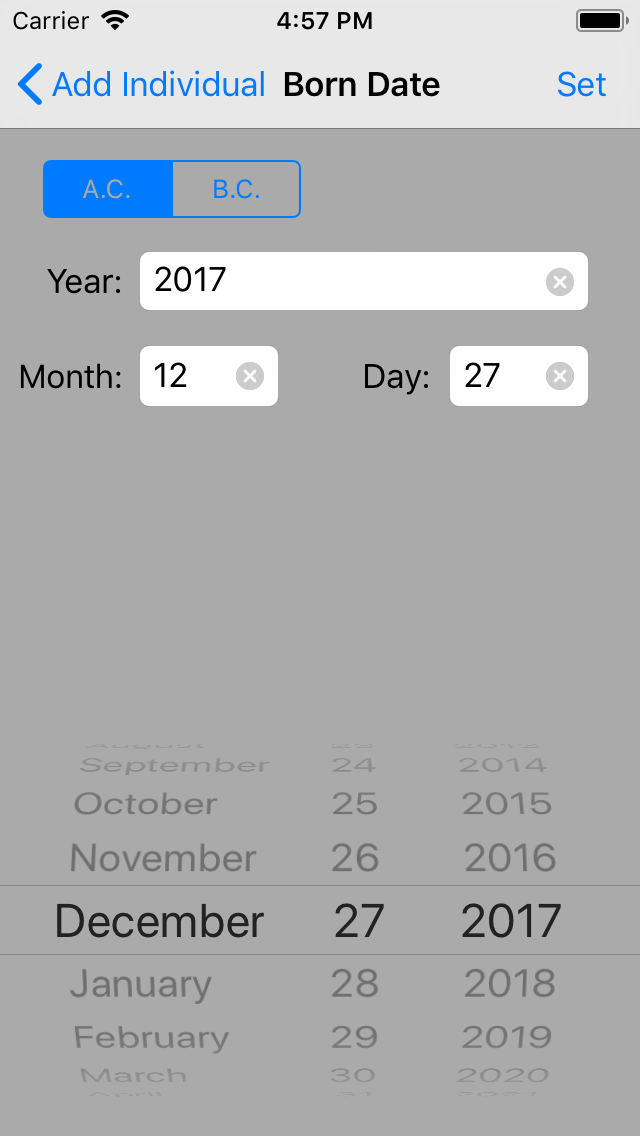
3.1 Date Setting
This screen is for inputting the start date(Born:) and the end date(Died:) and the date of the event. The date of B.C.
can be established.
The date of the leap year is not checked on the application side.
Only the year value, only the year value and the month value can be inputted.
|
|
Tap Set button to set the date data to the last screen.
[ A.C. | B.C. ] button is the era of the calendar.
The date picker under this screen can display only the date after A.C. 1584 .
|
3.2 Event List
This list manage the event such as
individual/organization to display on the chronological table. An event
is composed of the date and the content.
The
[ Import >> ] button of the header open the
Event Import screen .
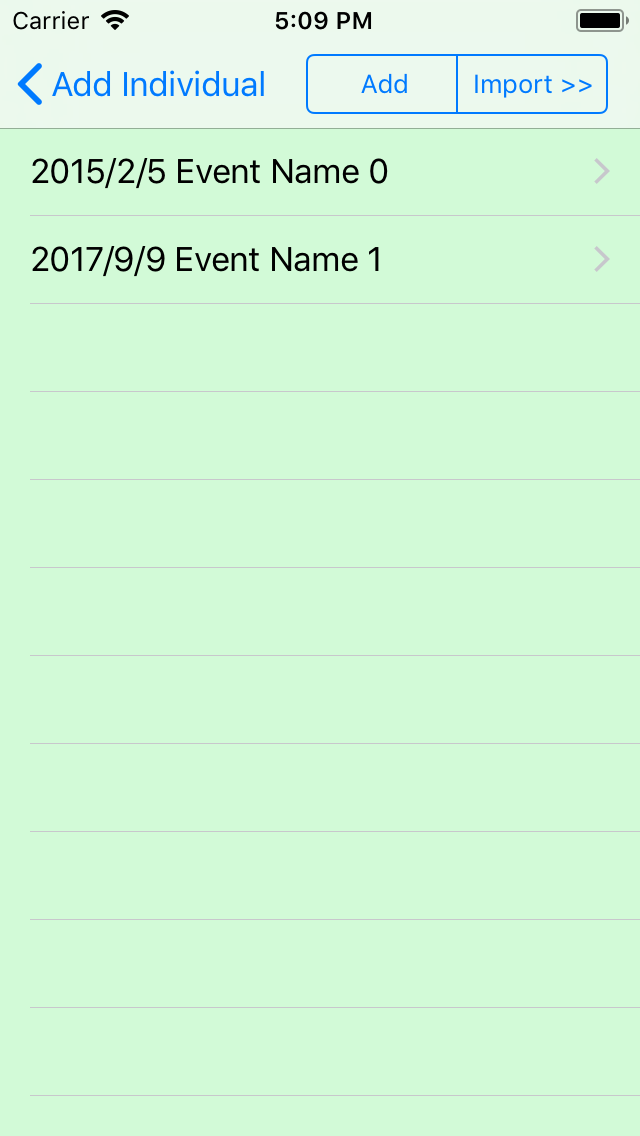
Tap the item of the event list
to open the "Edit Event" screen.

|
Tap [ Add ] button
of the header part
to open the
"Add Event" screen.

|
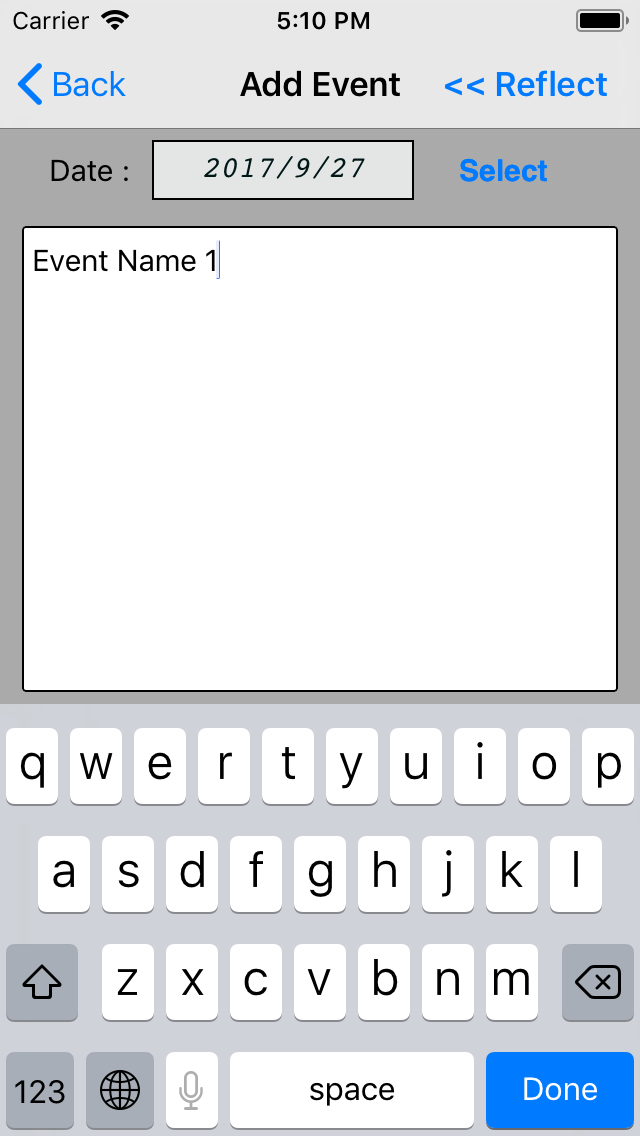
On the "Add Event" screen,
tap << Reflect button to return to the event list screen
and new event data are reflected to the event list.
|
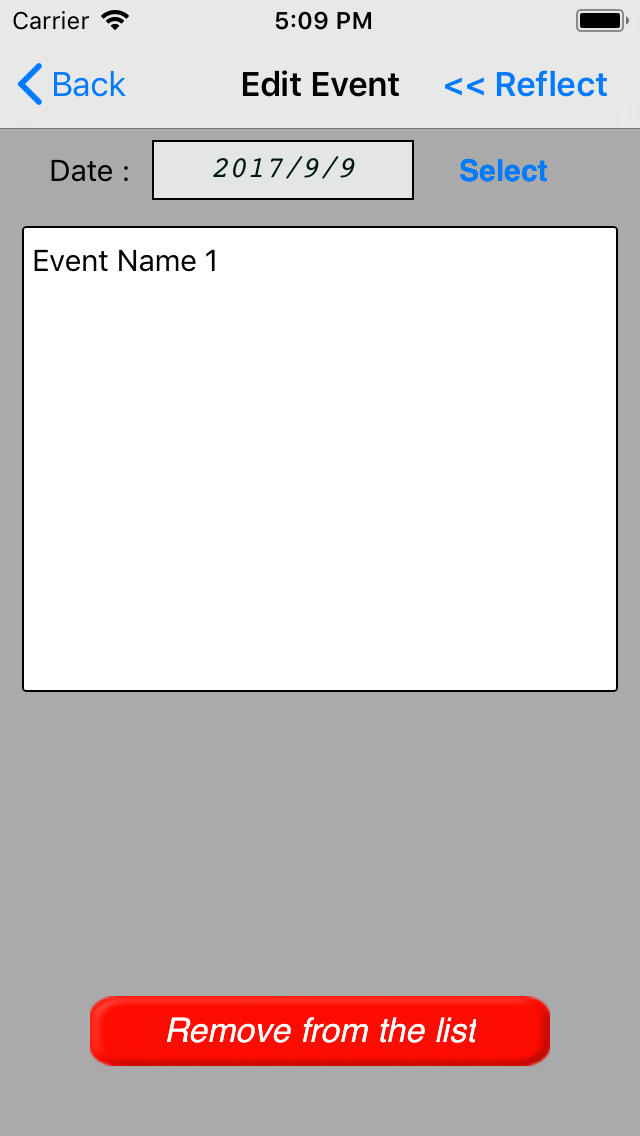
Tap Remove from the list button,
its data removed from the event list.
| | |
3.2.1 Event Import screen
The
Import >> button on the top right corner of the
event list open the "
Event Import" screen .
On this screen, it is possible to create Event data from the CSV file in the
Documents folder.
This page explain the CSV file format for Event data.
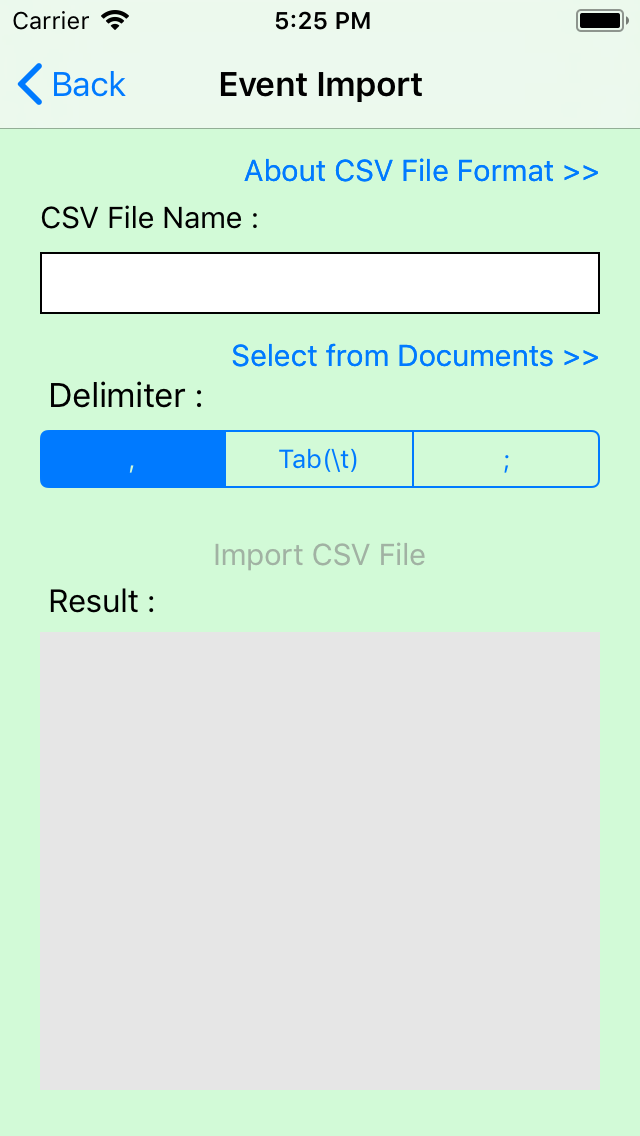
Procedure:
- Set the CSV file for input by Select from Documents >> button.
- Select delimite character in the CSV file.
- Tap Import CSV File button.
- Check the result content of "Result:" textbox. The lines that can not be input is displayed.
3.2.1.1 Select the CSV file for the Event data
Tap
Select from Documents >> to open "
Select CSV File" screen .
On this screen, the CSV file for input can be selected.
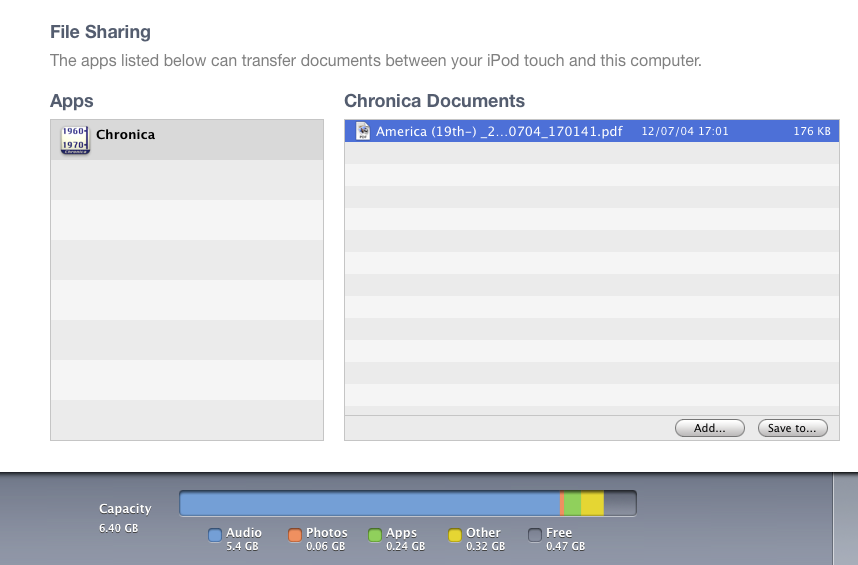
This list is the file names of "Documents" folder.
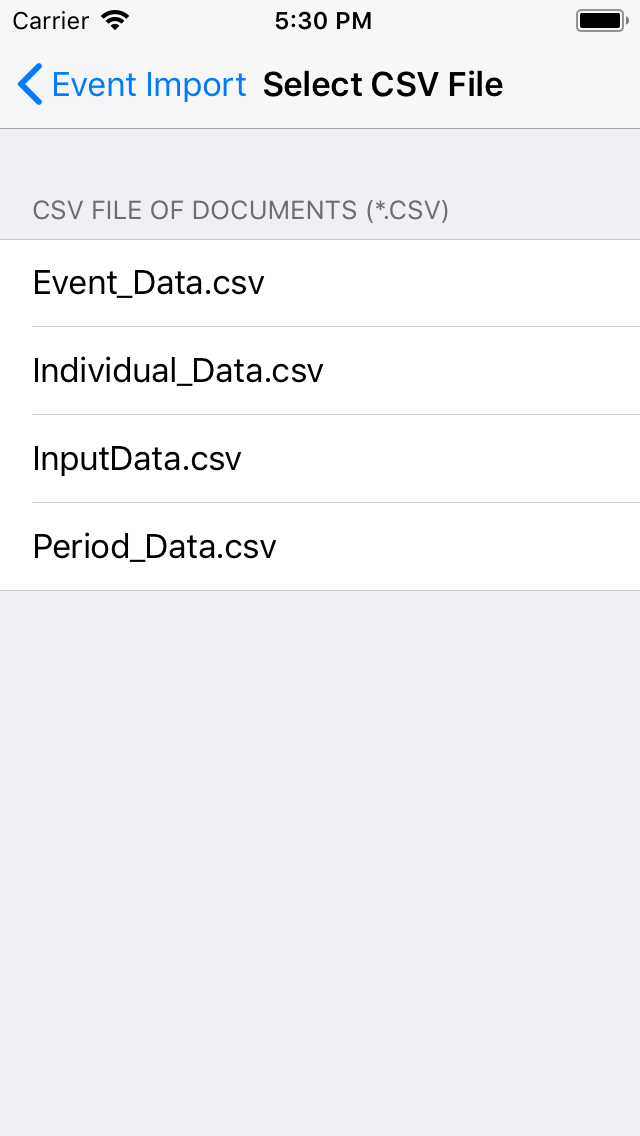
These CSV files can be added to iTunes (
DEVICES => Apps => File Sharing ) on PC/Mac.
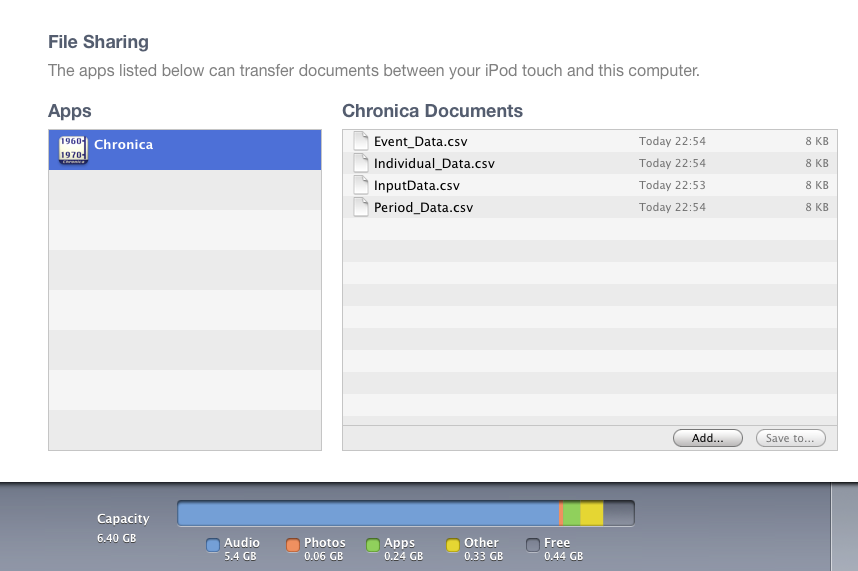
Its CSV file can be deleted with delete key on your keyboard.
4. Edit Individual Item
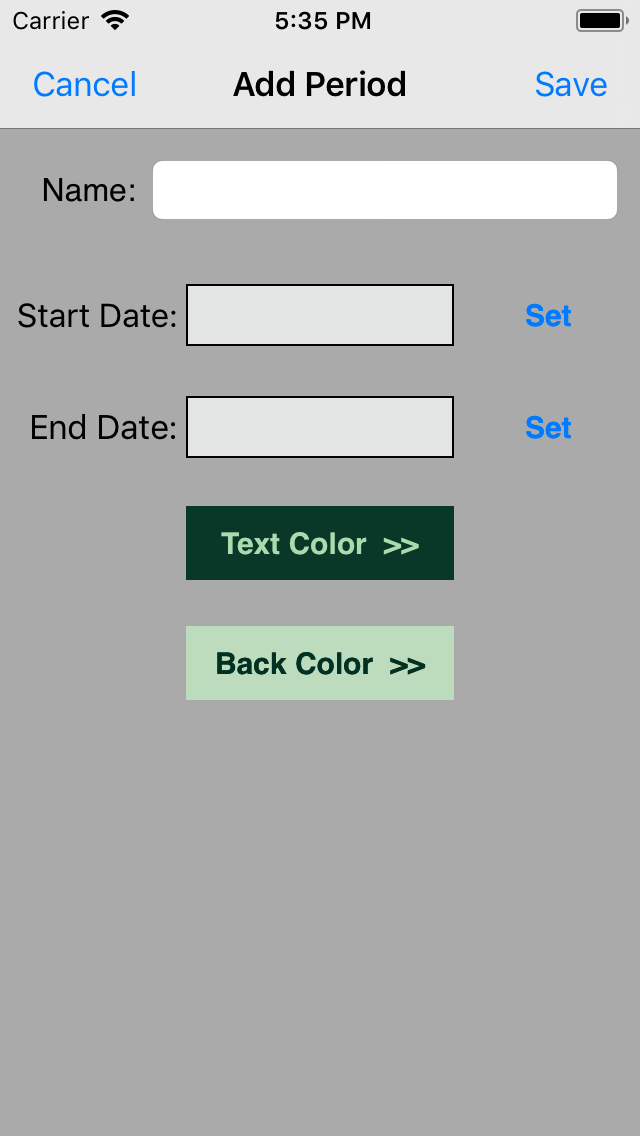
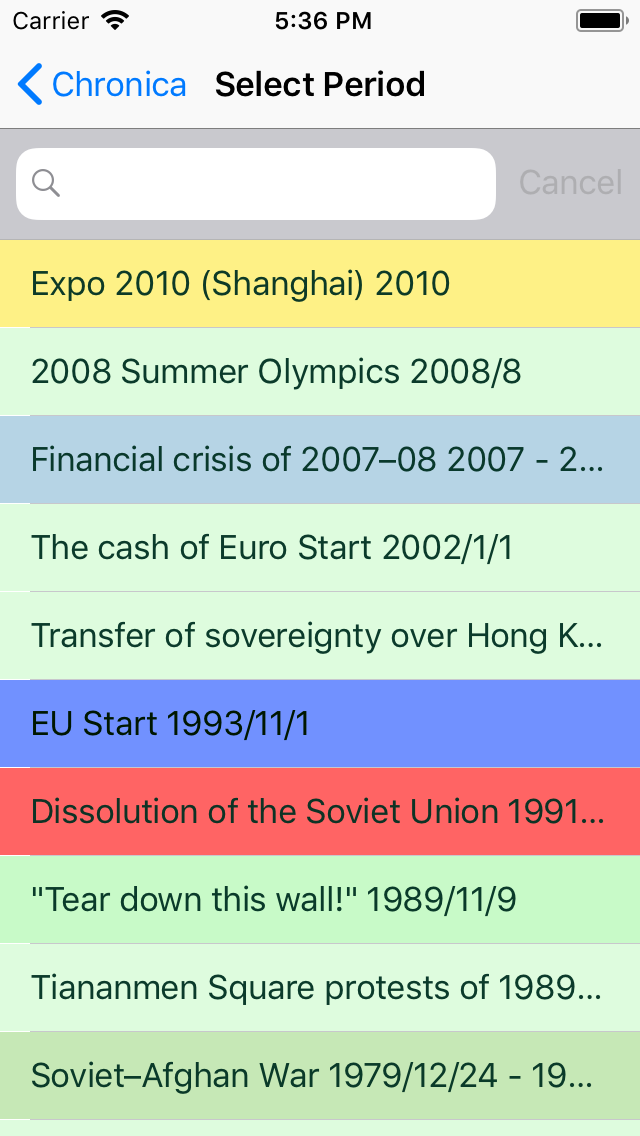
5. Add Period Item
This screen is for making new period data.
The name and the start date are indispensable items on this screen. the end date is option.
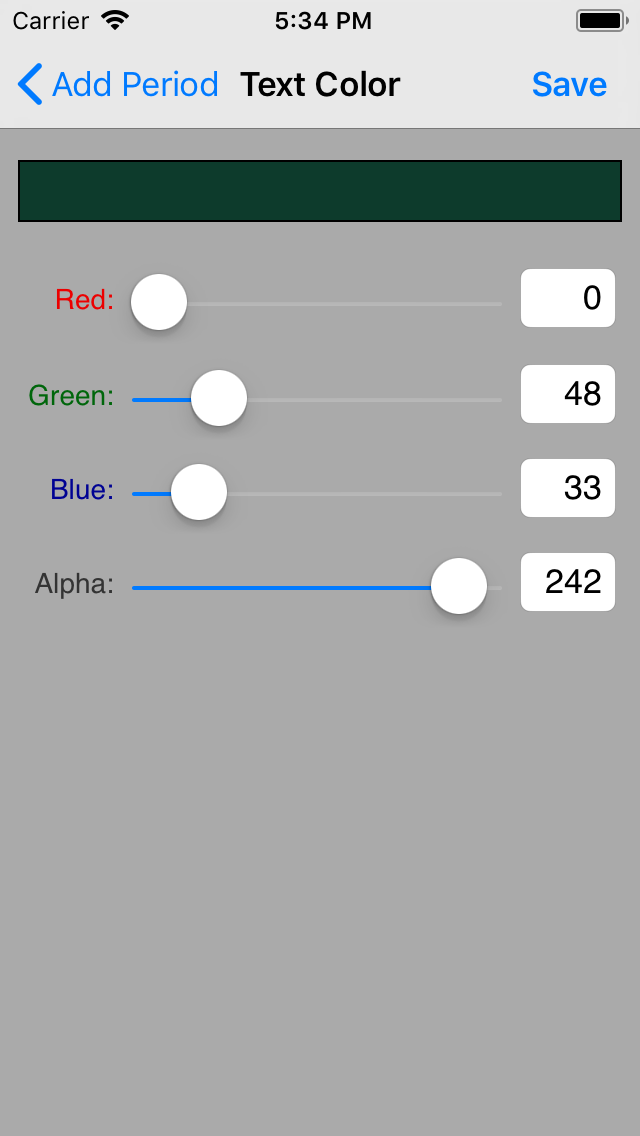
Tap
[ Text Color >> ] or
[ Back Color >> ] to open the color edit screen. The color is reflected by
Save button on the color edit screen.
6. Edit Period Item
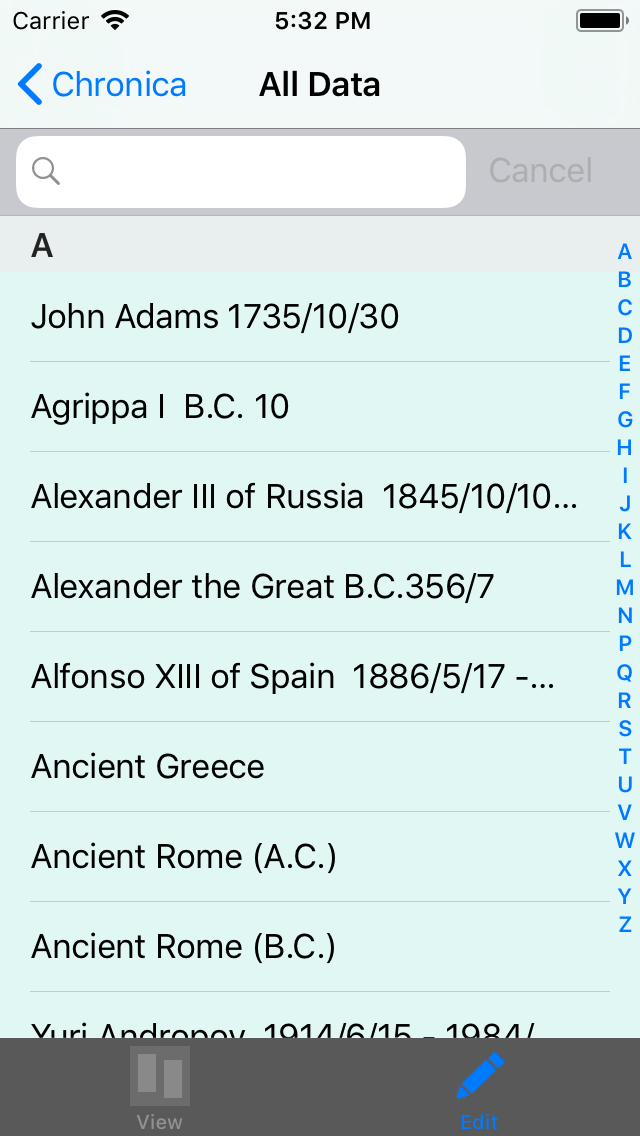
This screen lists all period data. this list is sorted by the start date of the period data.
The header text field can be searched the name of the period data.
When
Delete This Period Data button is pressed, its period data is deleted.
The input terms of
Edit Period Screen is same as
Add Period Screen.
7. Add Table Item
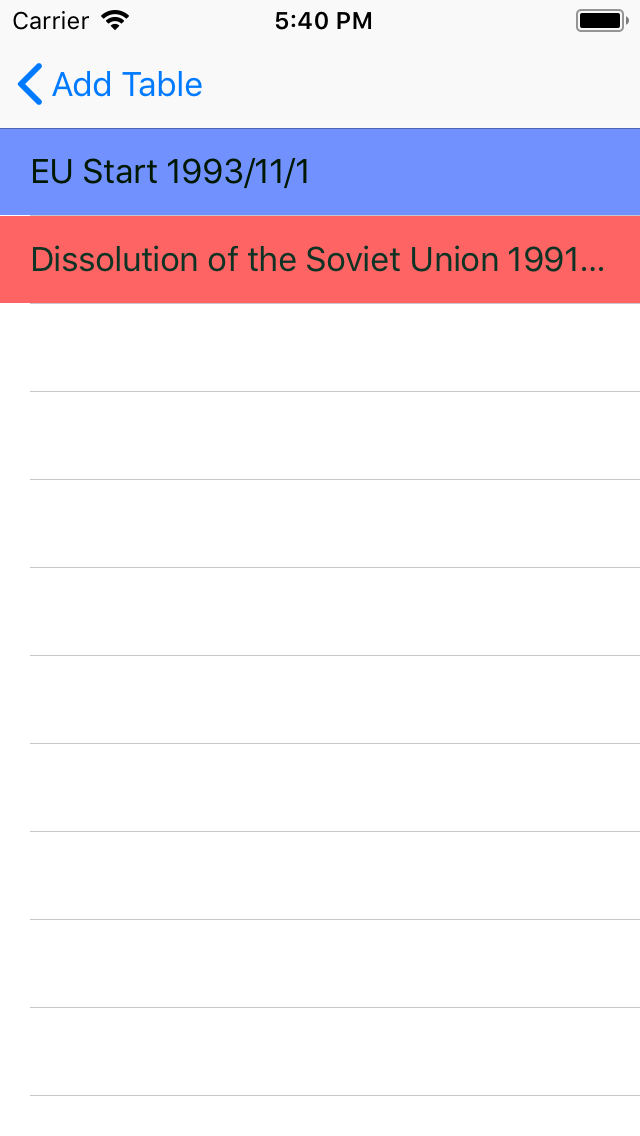
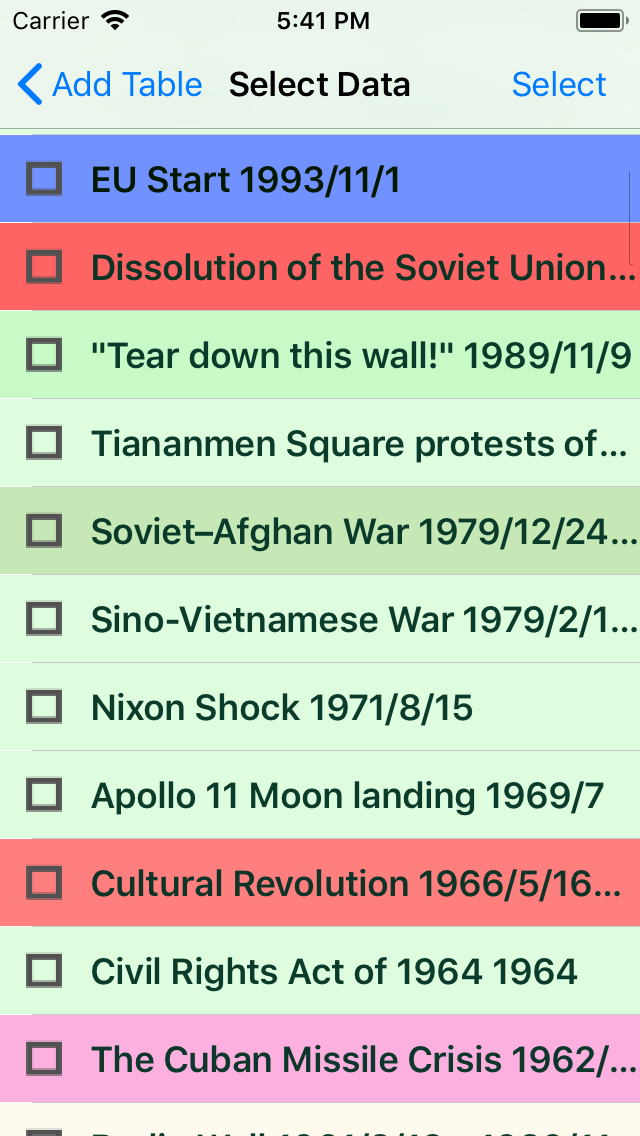
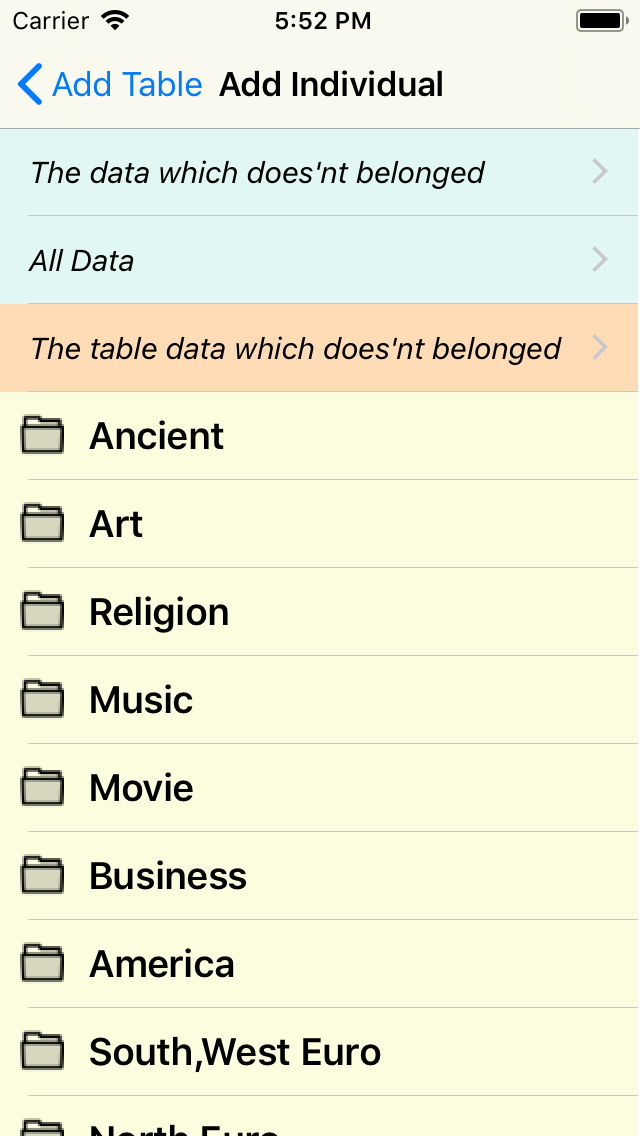
7.1. Add Individual of "Add Table" screen
8. Edit Table Item
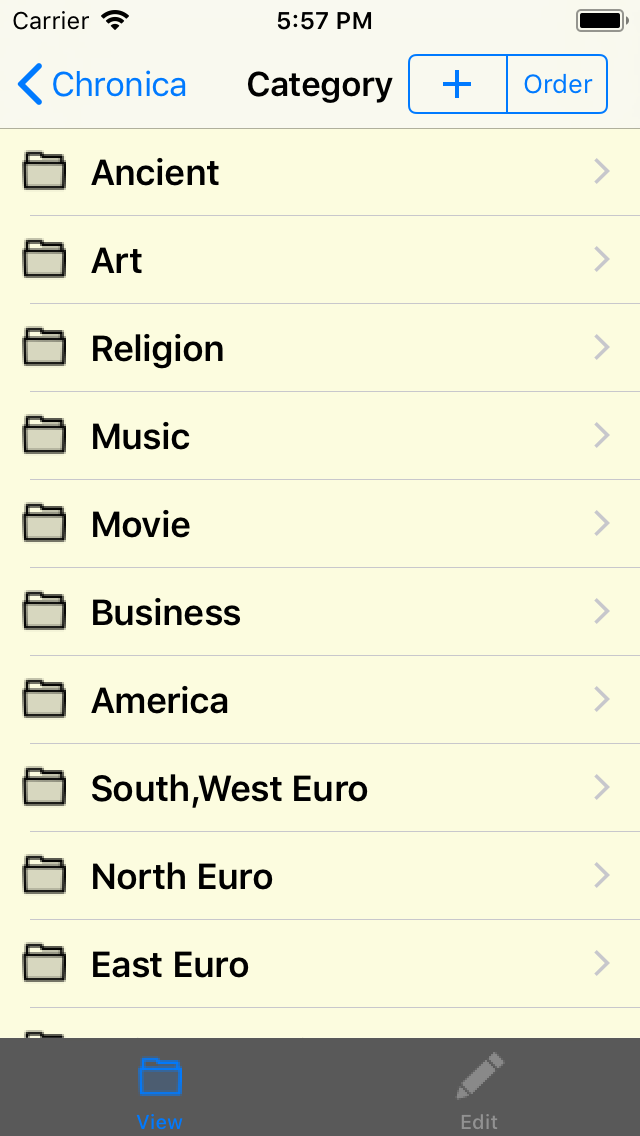
9. Category Item
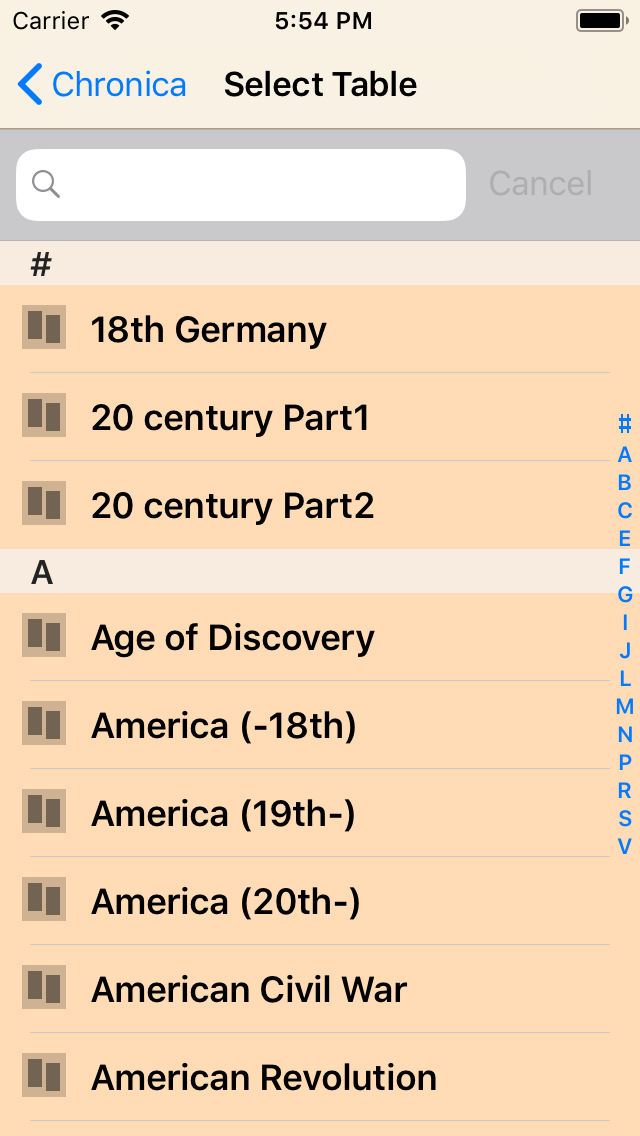
The
Category item of main menu is for vidualizing the table data.
The table data can be selected by the order:
Category list => Table list => Table Display screen
|
|
- [ + ] button of the header
- Add Category screen is opened.
- [ Order ] button of the header
- The "Order Change" screen of the category is opened. The order of the category list can be changed on this screen.
- [ View ] tab under the screen
- When the category data of the list is selected, the table list of its category is opened.
- [ Edit ] tab under the screen
- When the category data of the list is selected, its data can be edited on the "Change Category" screen.
|
9.1. Add Cateogry screen

|
|
- Save button of the header
- This category data is made. The name item is necessary.
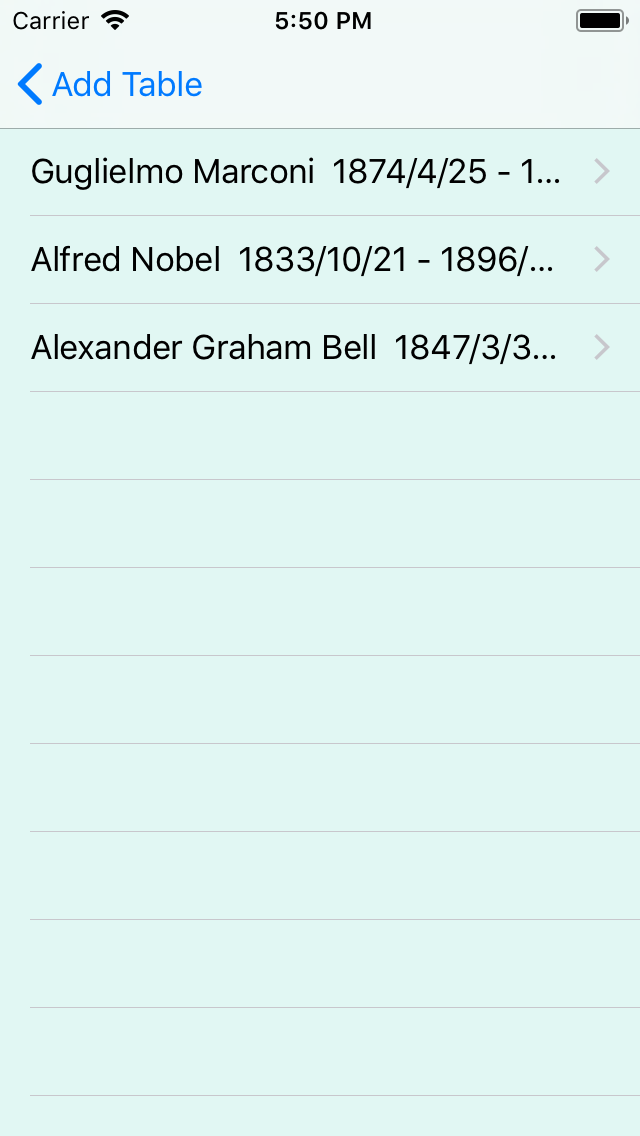
- Add >
- The screen is moved to Add Table screen. Please select from the table items under its screen list.
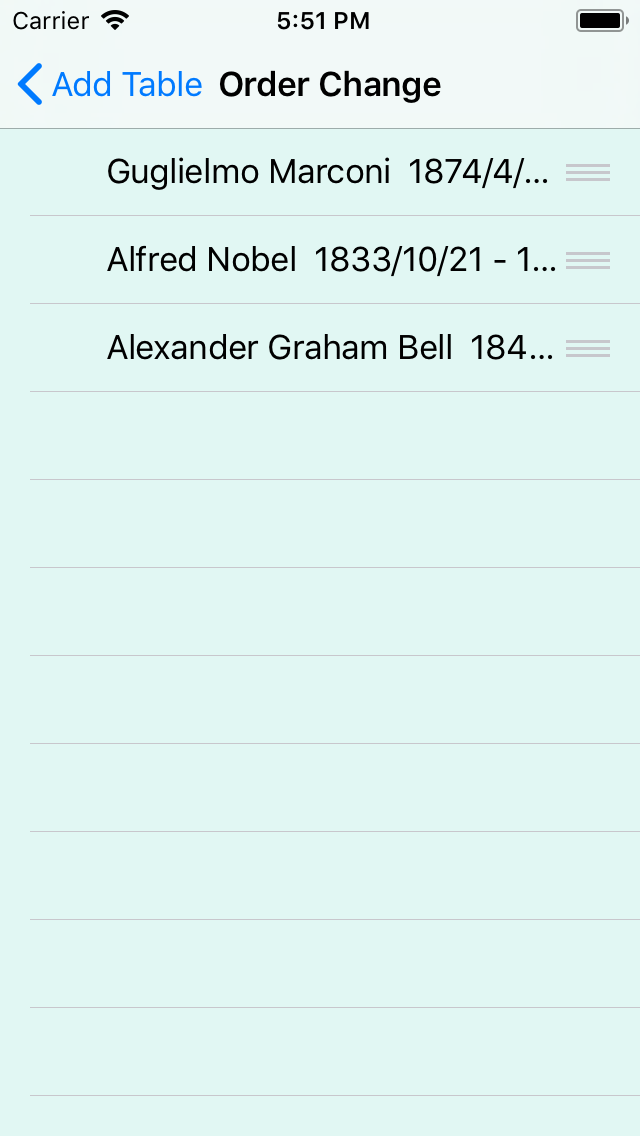
- Order Change >
- The screen is moved to "Order Change" screen. The order of the table list can be changed on this screen.
- About the table data belonged
- When the check of the table item is off and [ Save ] button is pressed, these table data are removed from this category data.
|
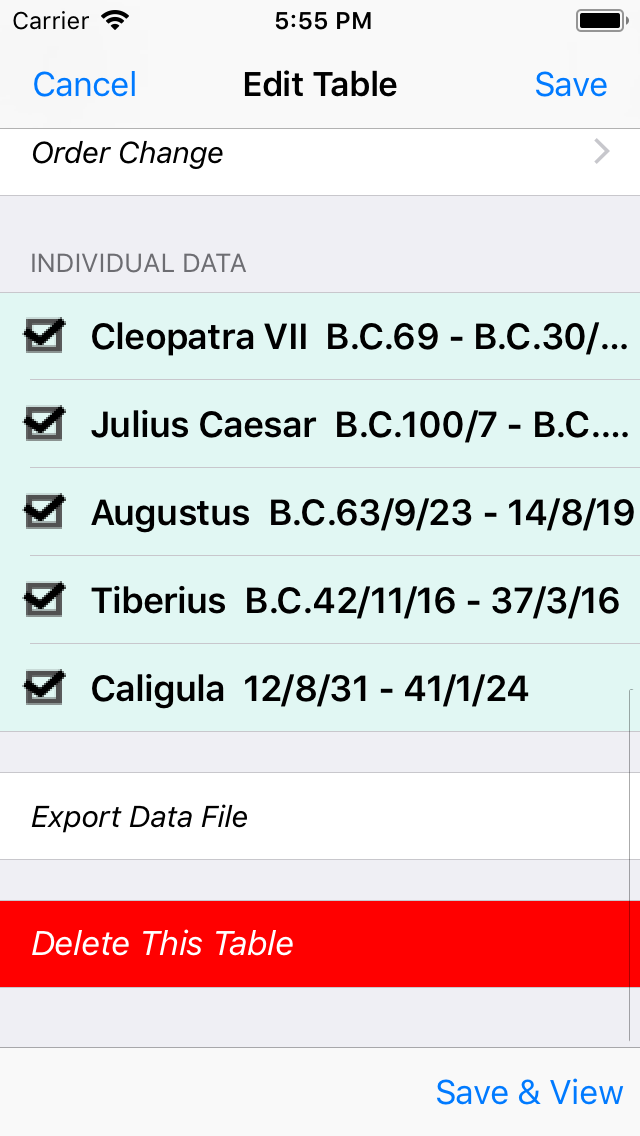
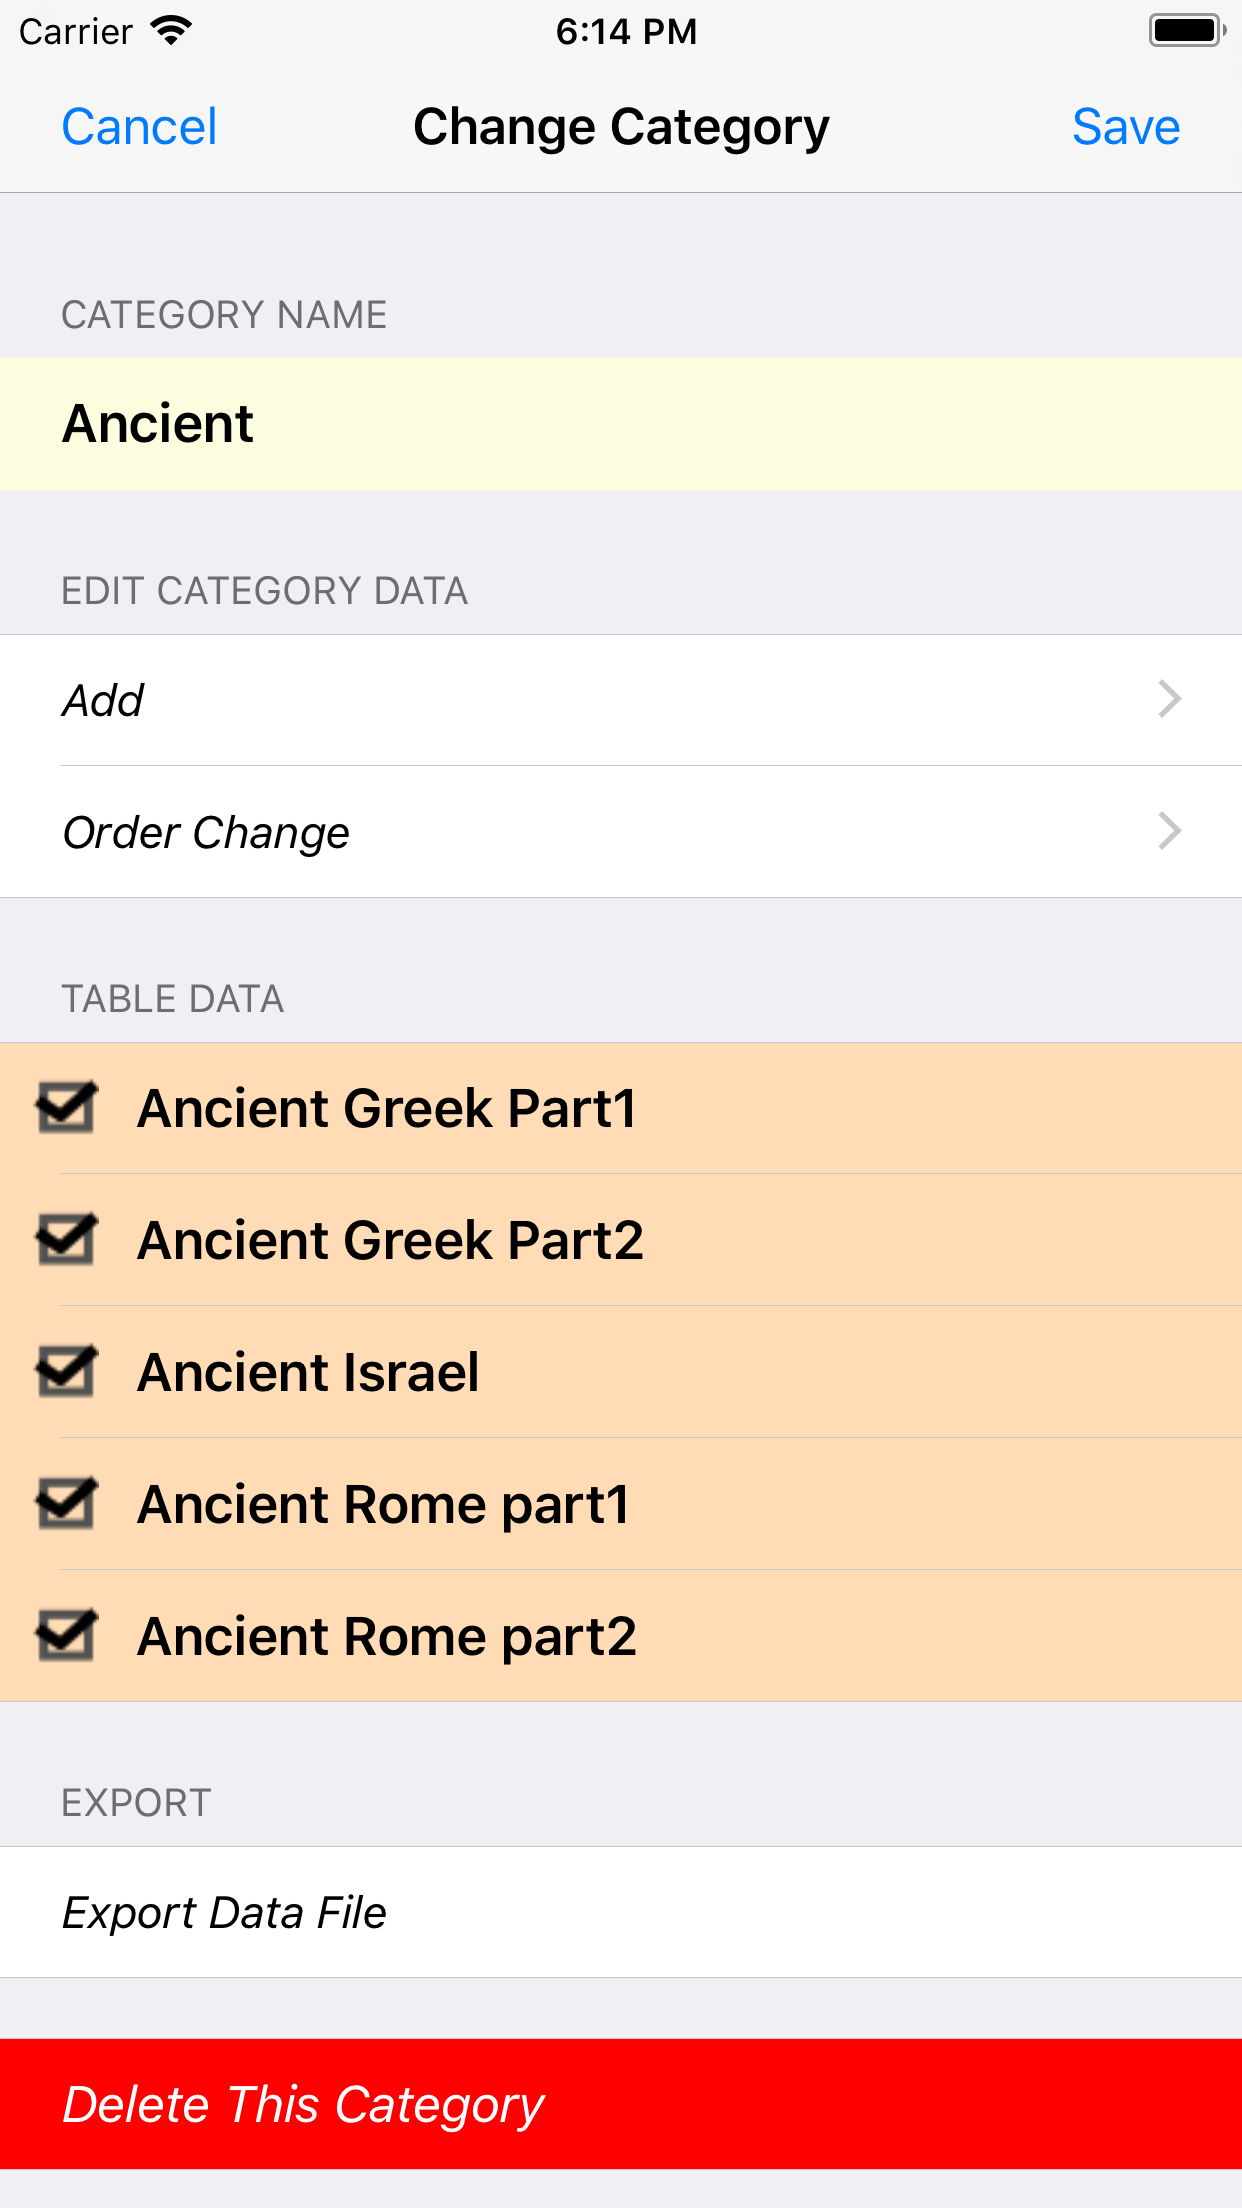
9.2. Change Category screen
|
|
"Change Category" screen is same as Add Category screen without under 2 terms.
- Export Data File
- This category data is exported to the Documents folder.
This data file is taken out from iTunes on PC/Mac.
This data file can be imported to Chronica app of other iPhone/iPod/iPad.
- Delete This Category
- This category data can be deleted from this app.
|
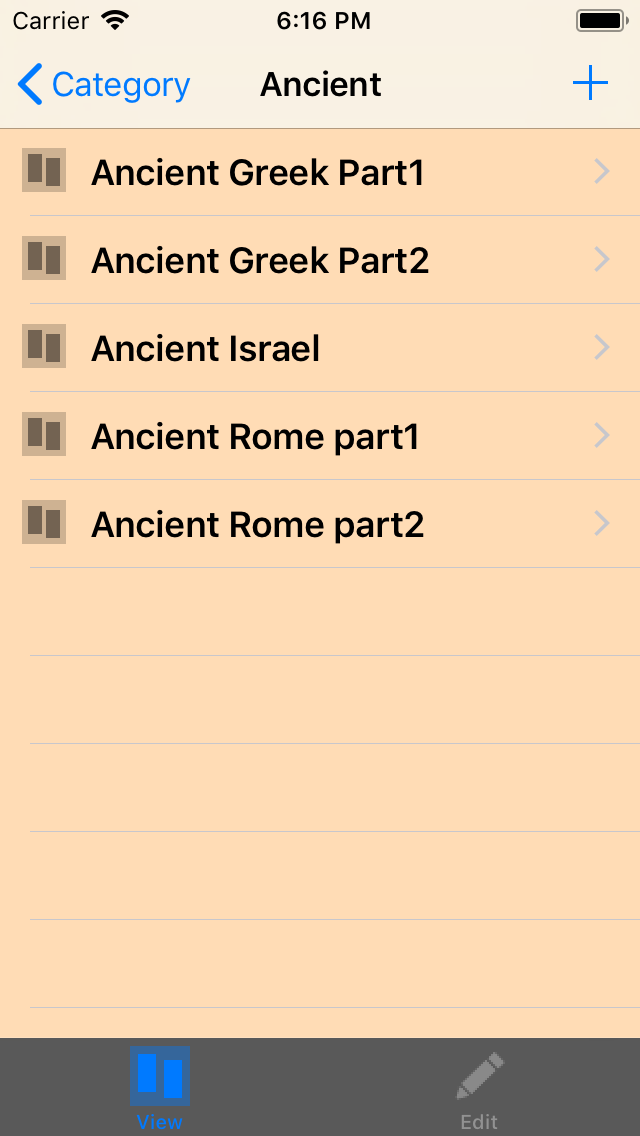
9.3. The table list of the category
|
|
- + button of the header
- "Add Table" screen is opened. The table data made on its screen is added to this category data.
- [ View ] tab under the screen
- When the table data of the list is selected, its data is displayed on Table Display screen.
- [ Edit ] tab under the screen
- When the table data of the list is selected, its data can be edited on Edit Table screen.
|
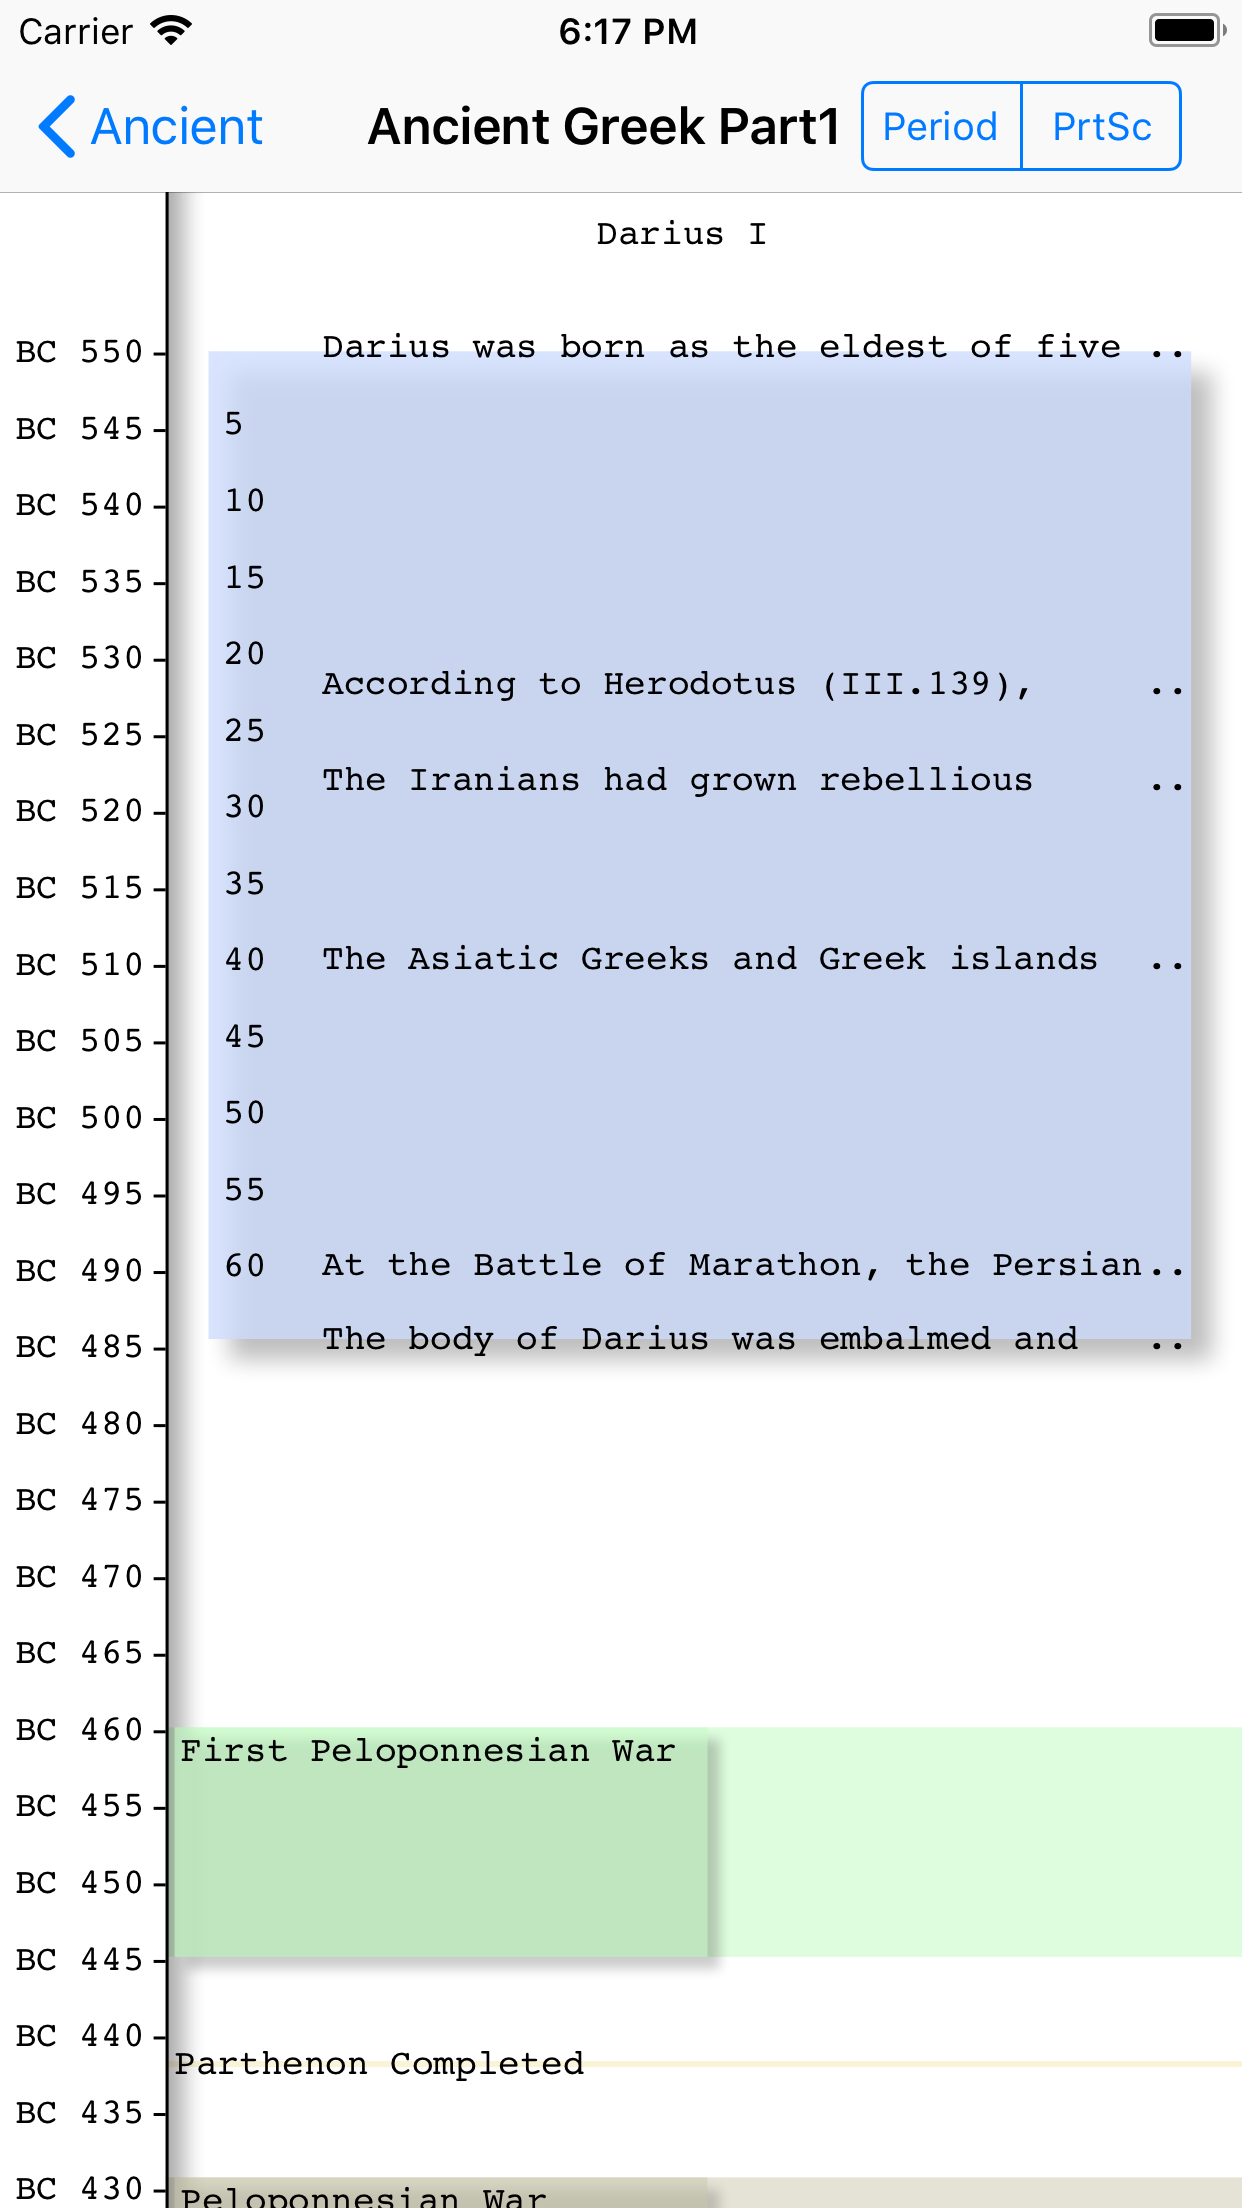
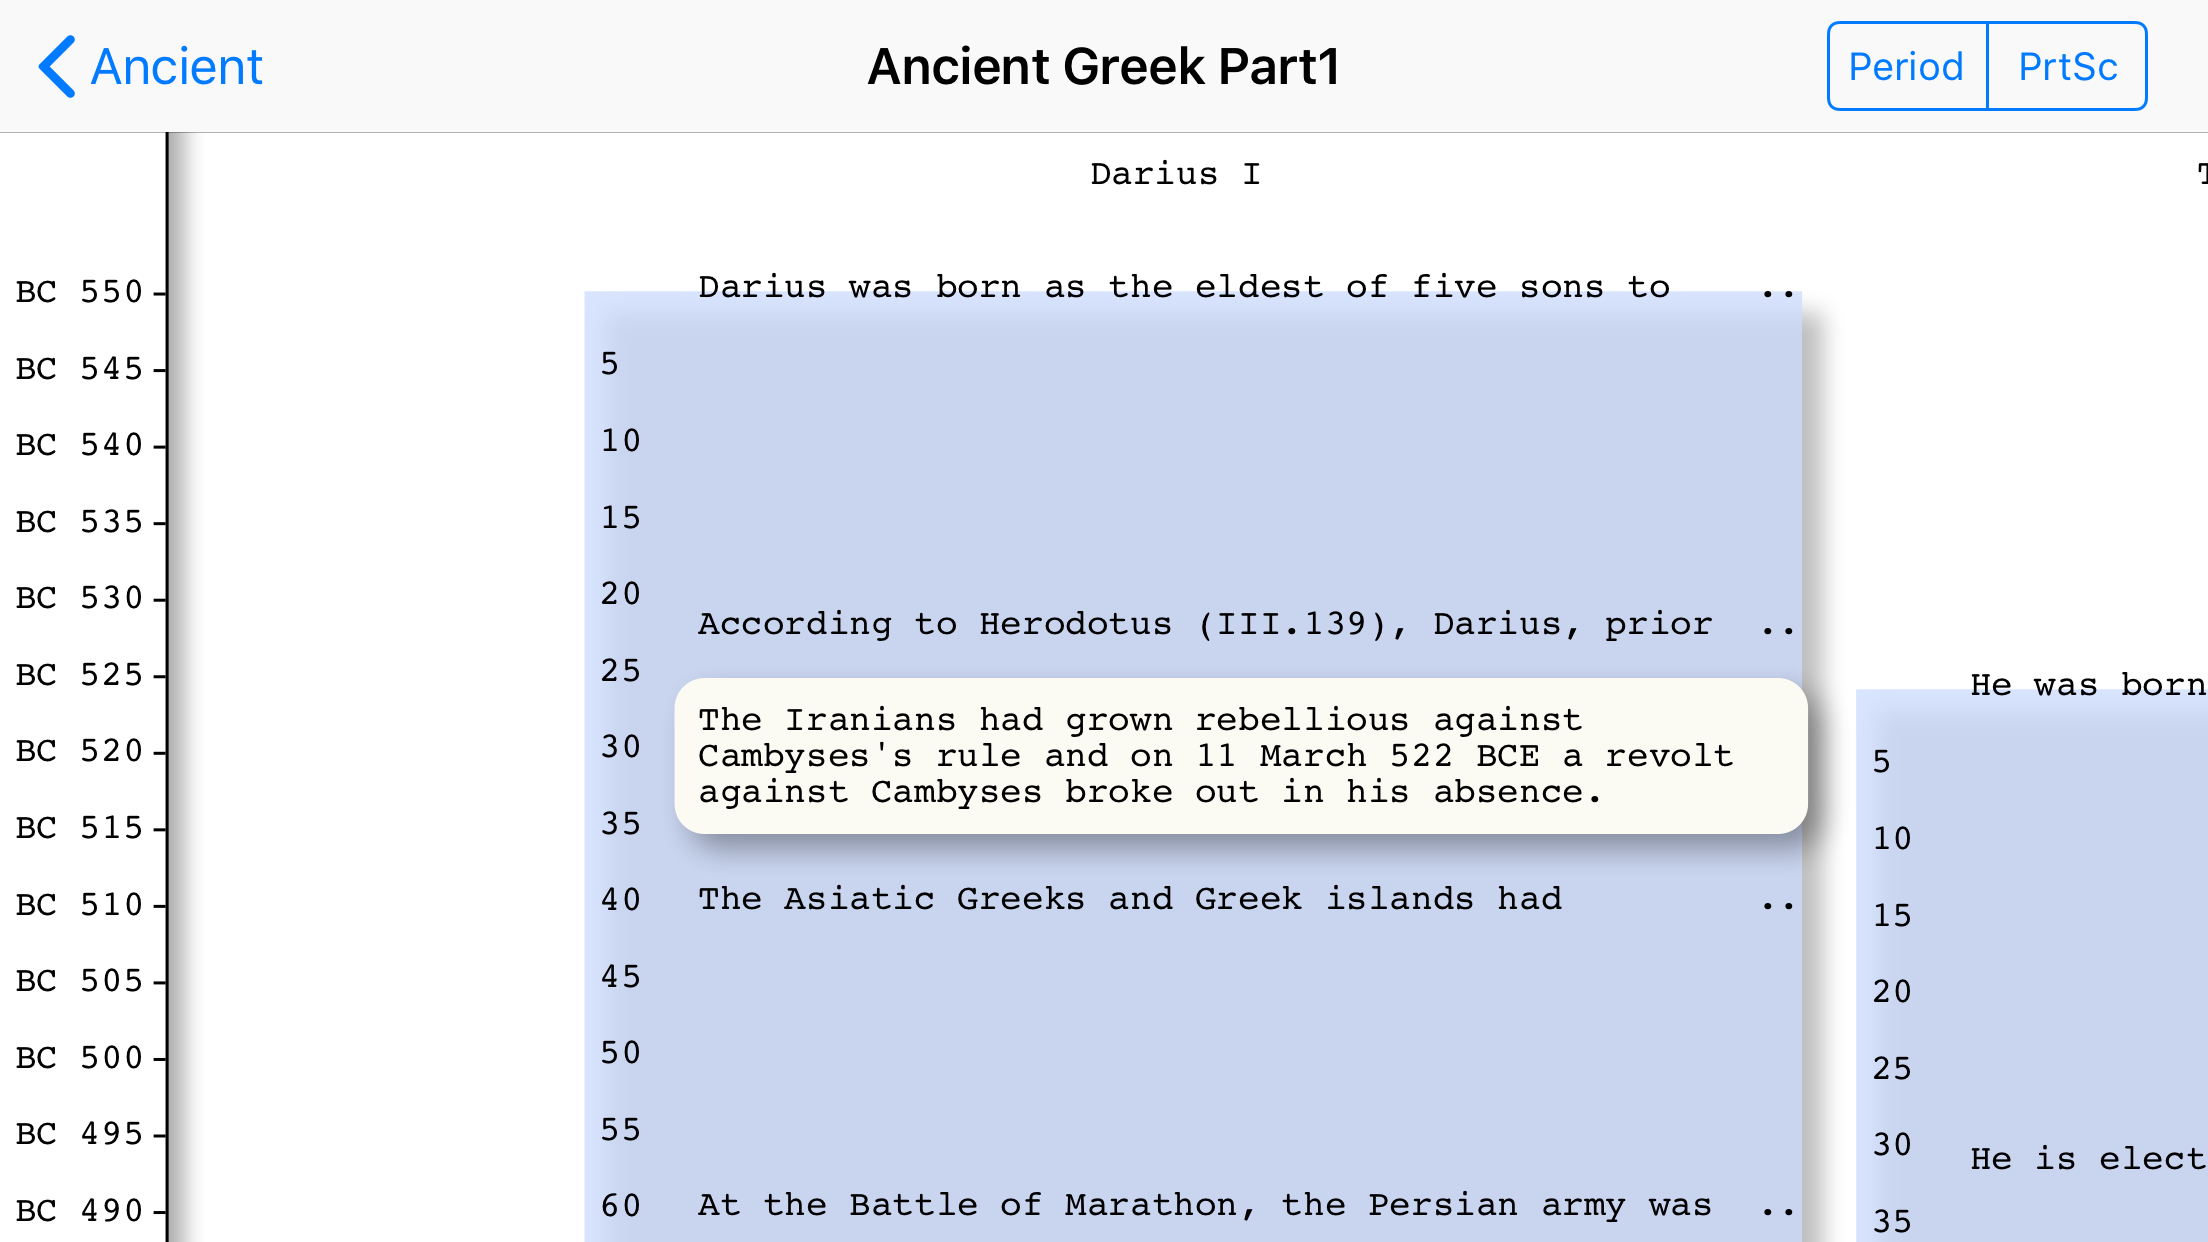
9.4. Table Display screen
Display the chronological table data.
When the name is clicked, the web page of the URL of the individual data is opened on the browser.
|
|
- [ Period ] button
- the display switch of the period part.
|
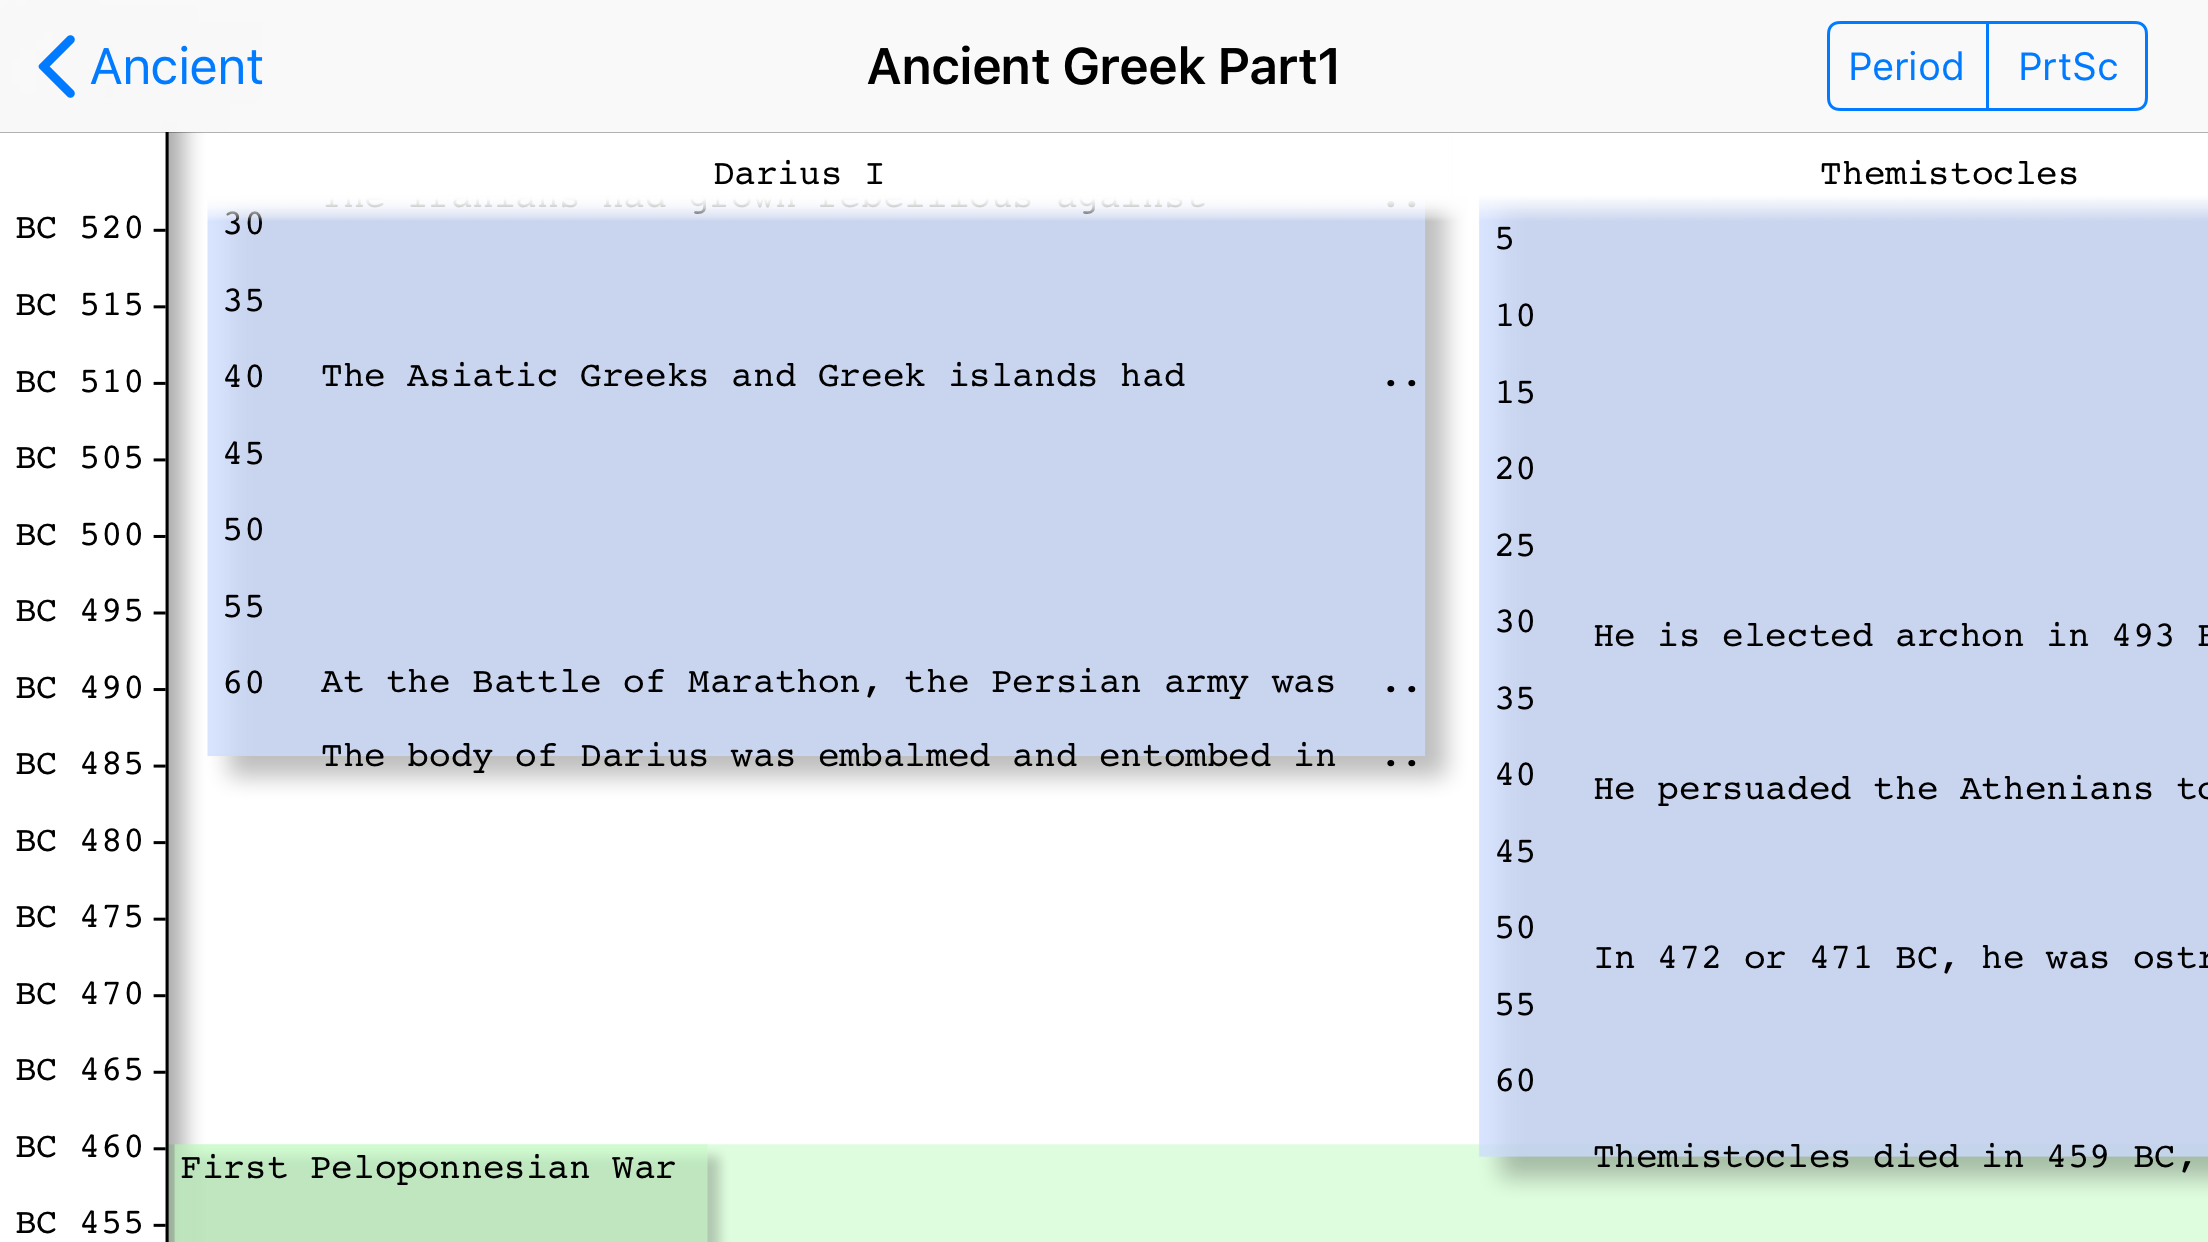
9.4.1 The scaling of the chronological table display screen
It is indicated with the longer side at
the top when iPhone and iPod are turned sideways.
You touches it in two fingers so that scaling may do a photograph, the
table is expanded.
Narrow the space of the finger of two provided that which it cuts down.
And, a chronological table can't expand beyond
3,800,000 pixels.
9.4.2 The whole display of the event
If you touch the event which isn't
displayed all, the event is expanded.
When it touches it again, it is returned to initial status.
9.4.3 Export As PDF File
When
PrtSc button on the header is pressed, the PDF file of the screen is saved.
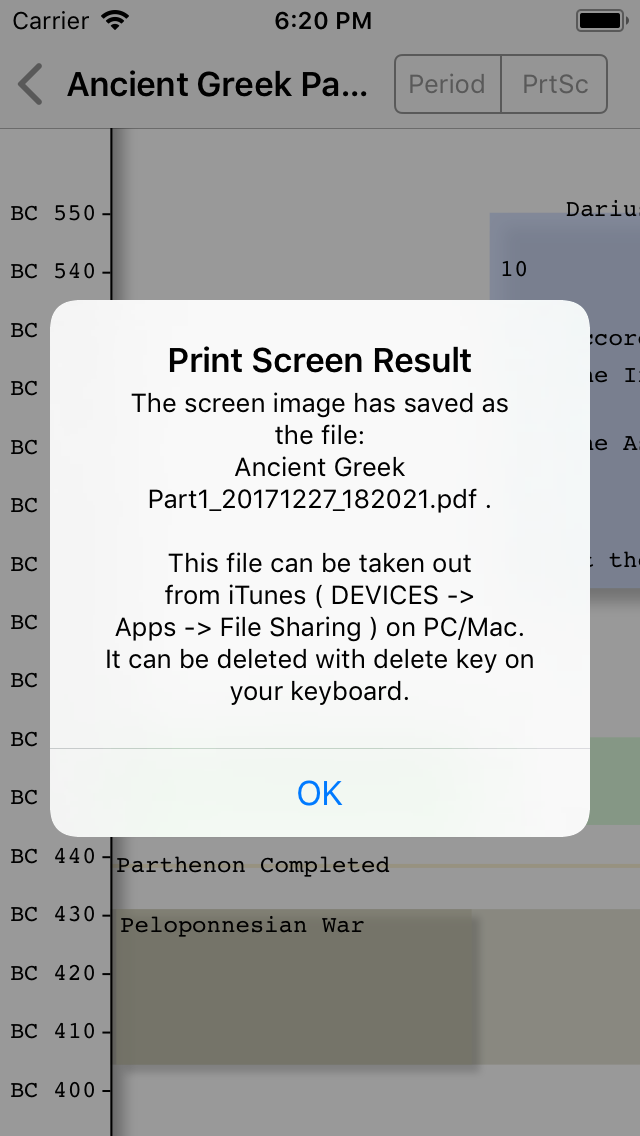
This PDF file can be taken out from iTunes (
DEVICES => Apps => File Sharing ) on PC/Mac.
Its PDF file can be deleted with delete key on your keyboard.
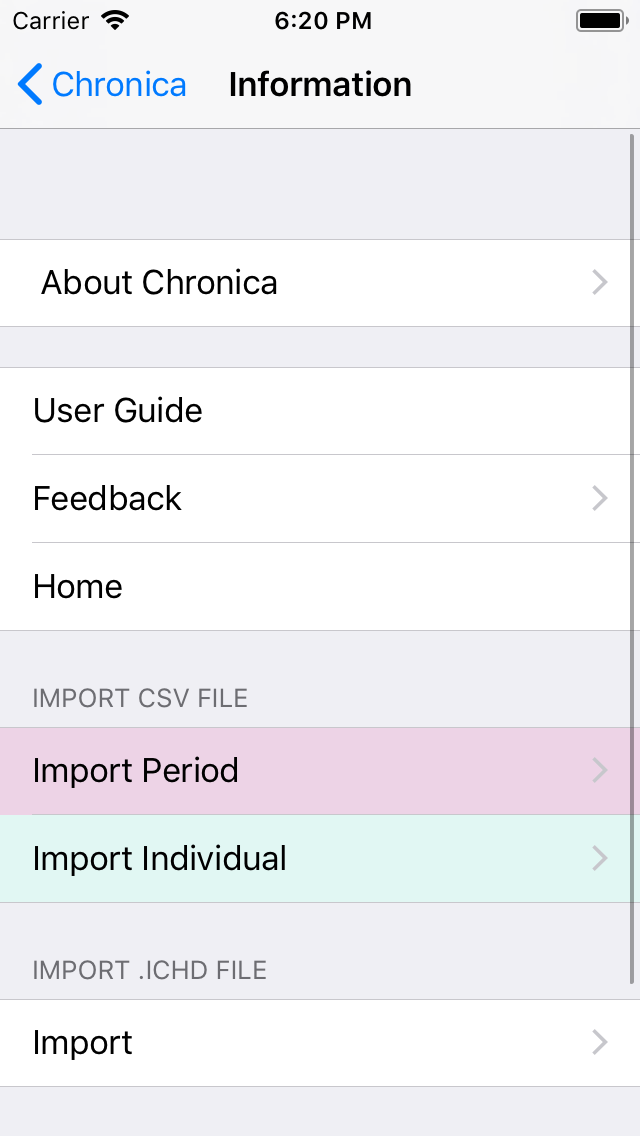
10. Infomation Screen
"
Setting" button is opened "Setting" screen.
"
Import Period" button is opened "Period Import" screen.
"
Import Individual" button is opened "Individual Import" screen.
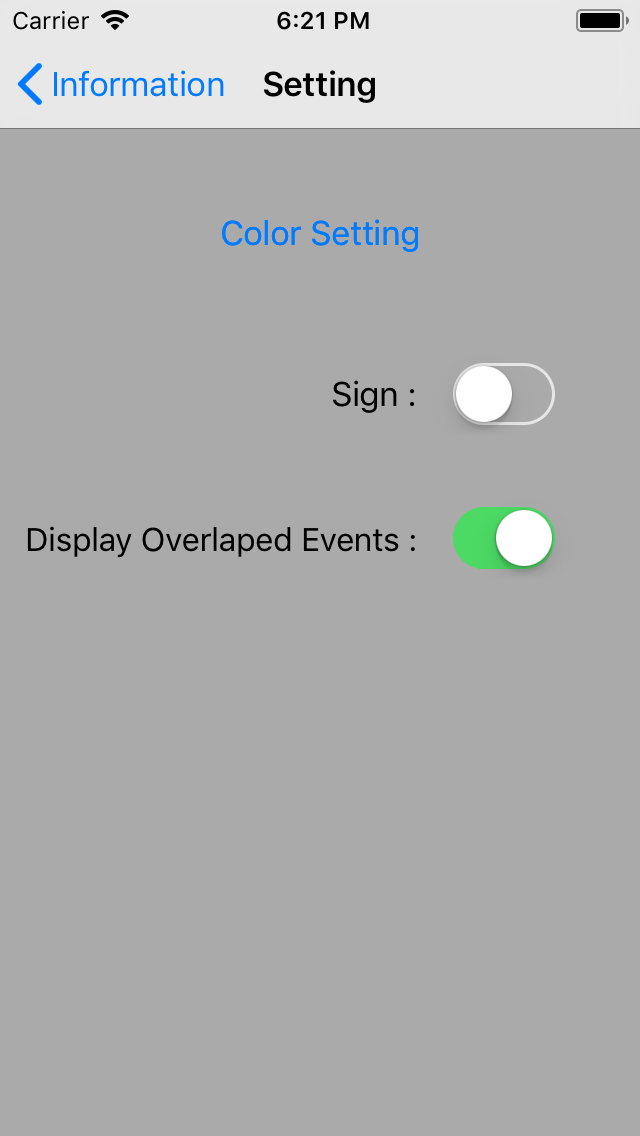
10.1 Setting Screen
There are sign display switch.
10.1.1 "Display Overlaped Events: " Switch
When this switch is turned ON, The
events overlaped by one event are displayed in one zoom window.
10.2 Period Import Screen
On this screen, it is possible to create Period data from the CSV file in the
Documents folder.
This page explain the CSV file format for Period data.
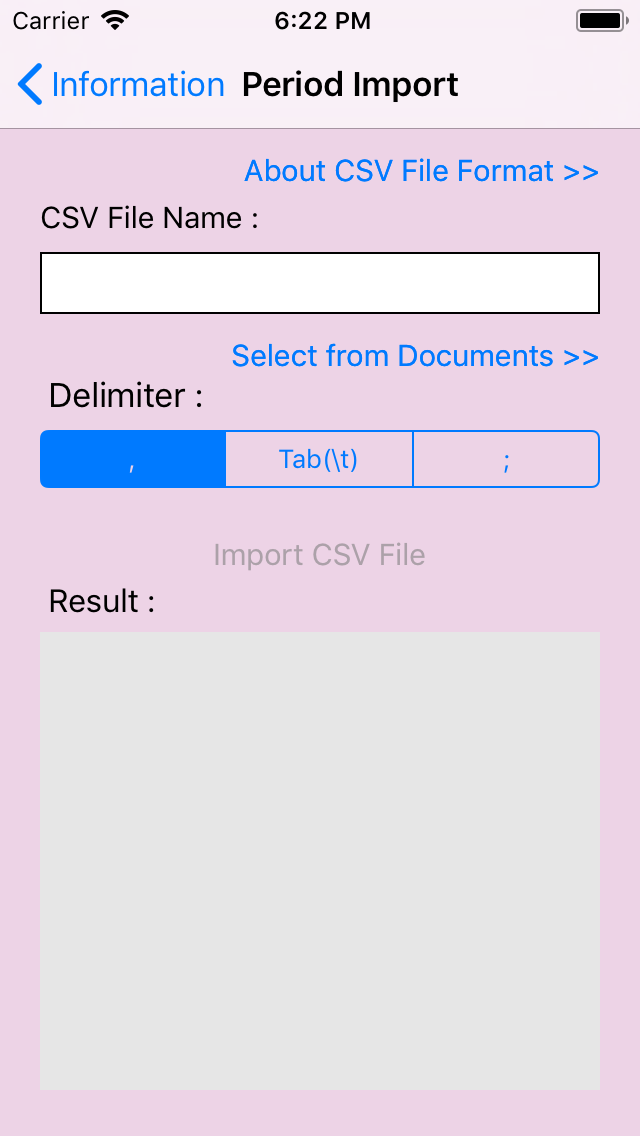
Procedure
- Set the CSV file for input by Select from Documents >> button.
- Select delimite character in the CSV file.
- Tap Import CSV File button.
- Check the result content of "Result:" textbox. The lines that can not be input are displayed.
10.2.1 Select the CSV file for the Period data
When
Select from Documents >> button is tapped., and then, "
Select CSV File" screen is opened.
On this screen, the CSV file for input can be selected.
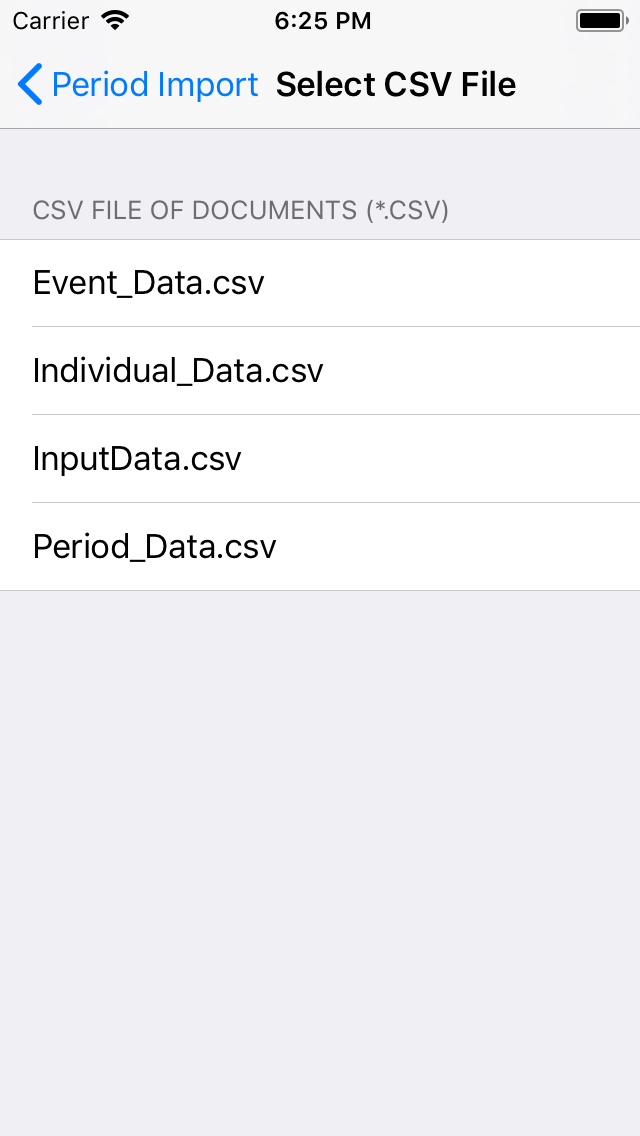
These CSV files can be added to iTunes (
DEVICES => Apps => File Sharing ) on PC/Mac.
Its CSV file can be deleted with delete key on your keyboard.
10.3 Individual Import Screen
On this screen, it is possible to create Individual data from the CSV file in the
Documents folder.
This page explain the CSV file format for Individual data.
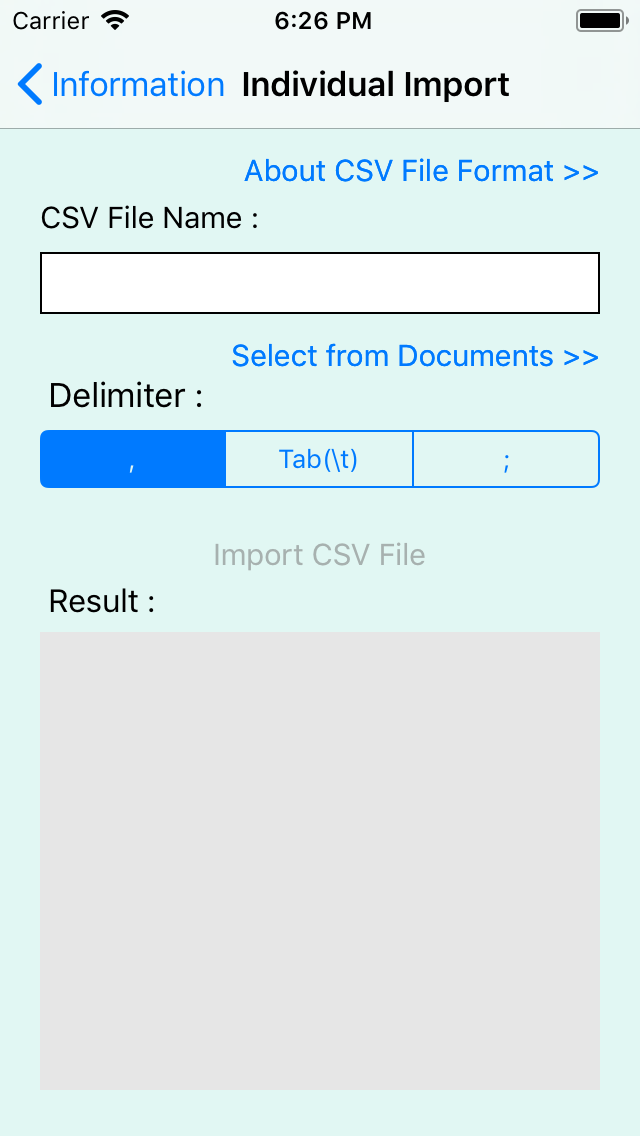
Procedure
- Set the CSV file for input by Select from Documents >> button.
- Select delimite character in the CSV file.
- Tap Import CSV File button.
- Check the result content of "Result:" textbox. The lines that can not be input are displayed.
10.3.1 Select the CSV file for the Individual data
When
Select from Documents >> is pressed, "
Select CSV File" screen is opened.
On this screen, the CSV file for input can be selected.
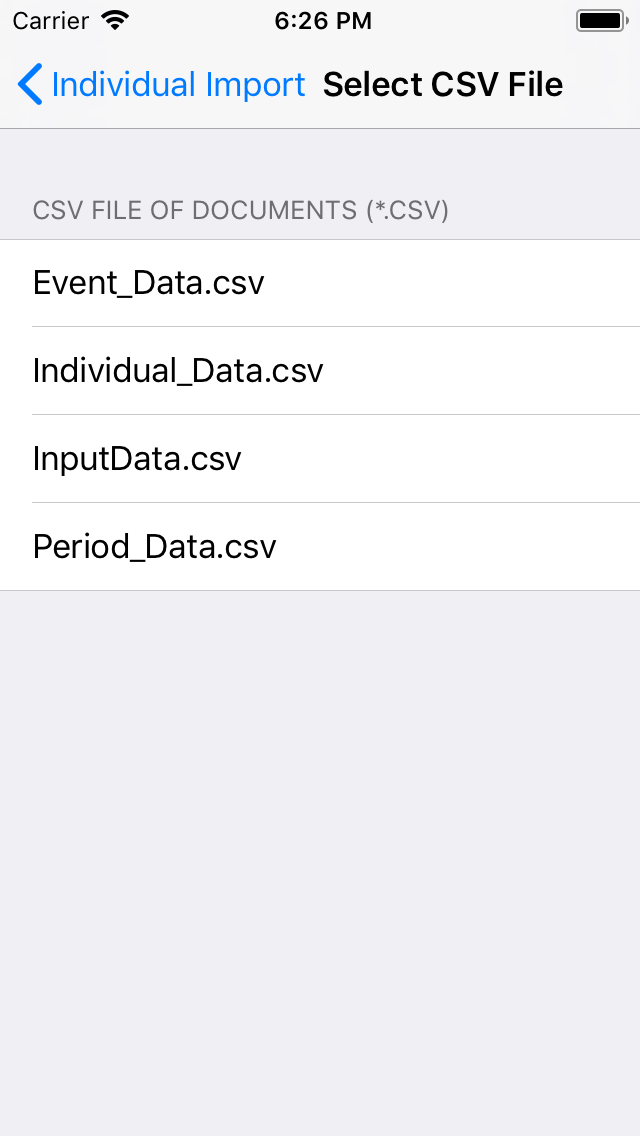
These CSV files can be added to iTunes (
DEVICES => Apps => File Sharing ) on PC/Mac.
Its CSV file can be deleted with delete key on your keyboard.
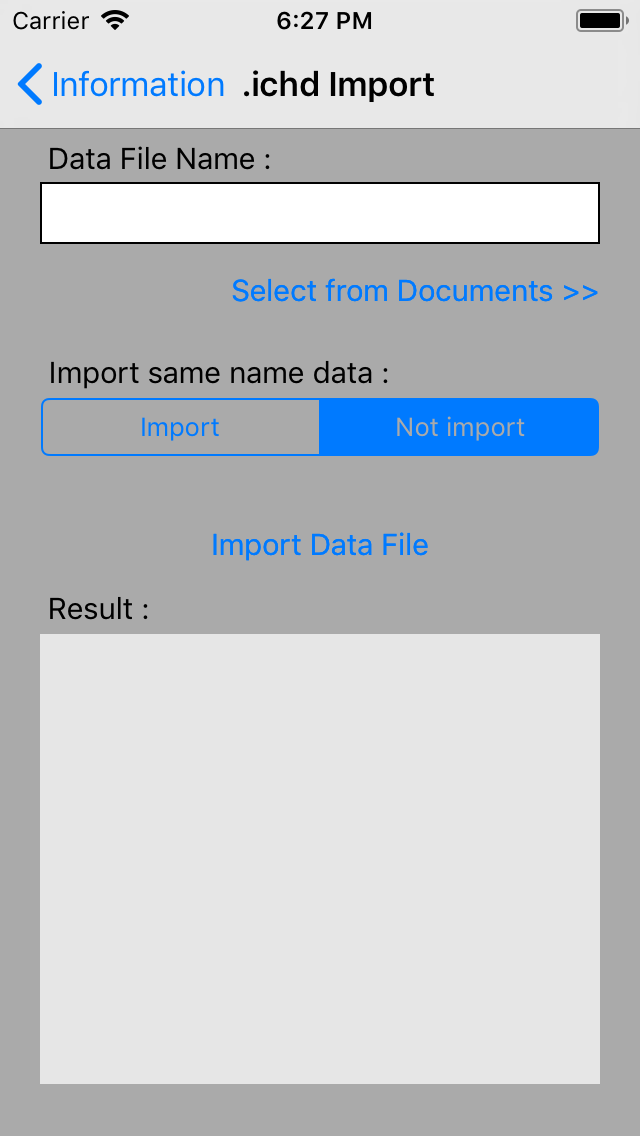
10.4 .ichd Import Screen
The data file(.ichd2 file) which generated by
Change Category screen,
Edit Table screen,
Edit Individual screen can be imported by this screen.
 |
|
Procedure
- Set the .ichd file for input by Select from Documents >> button.
- Select [ import | Not import ]. When [ Import ] is chosen, same name data are imported.
When [ Not import ] is chosen, same name data is not imported.
- Tap Import Data File button.
- Check the result content of "Result:" textbox.
|
These CSV files can be added to iTunes (
DEVICES => Apps => File Sharing ) on PC/Mac.
Its CSV file can be deleted with delete key on your keyboard.