Make a chronological table from the beginning
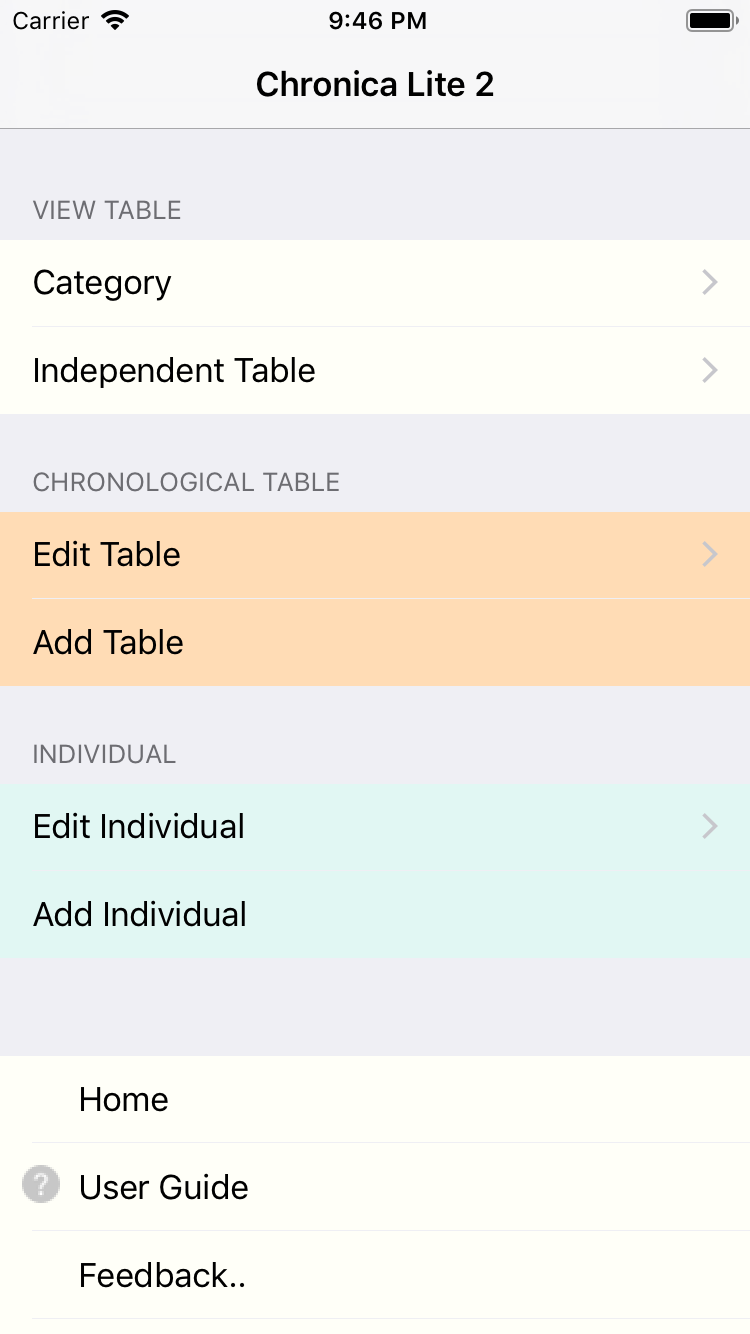
You can create and display a chronological table by entering data as described in the following guide.- Tap Add Individual item on the main menu.
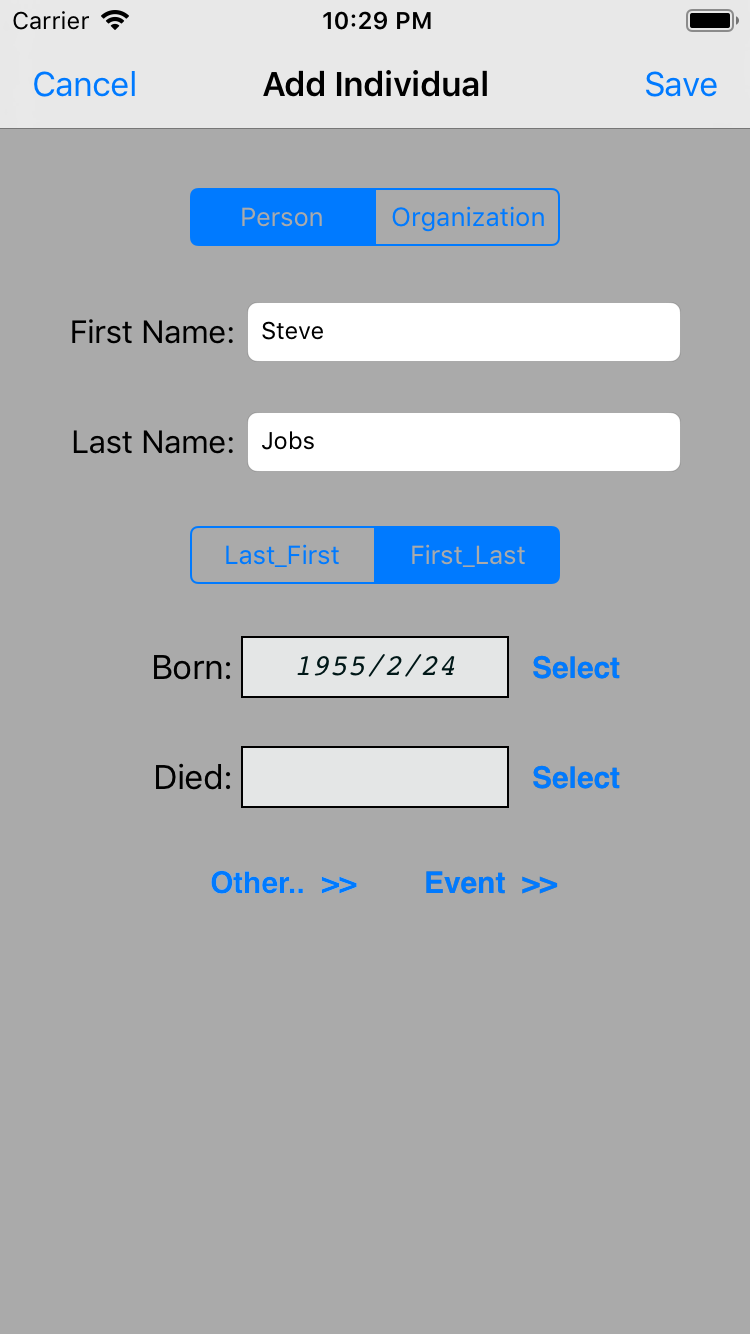
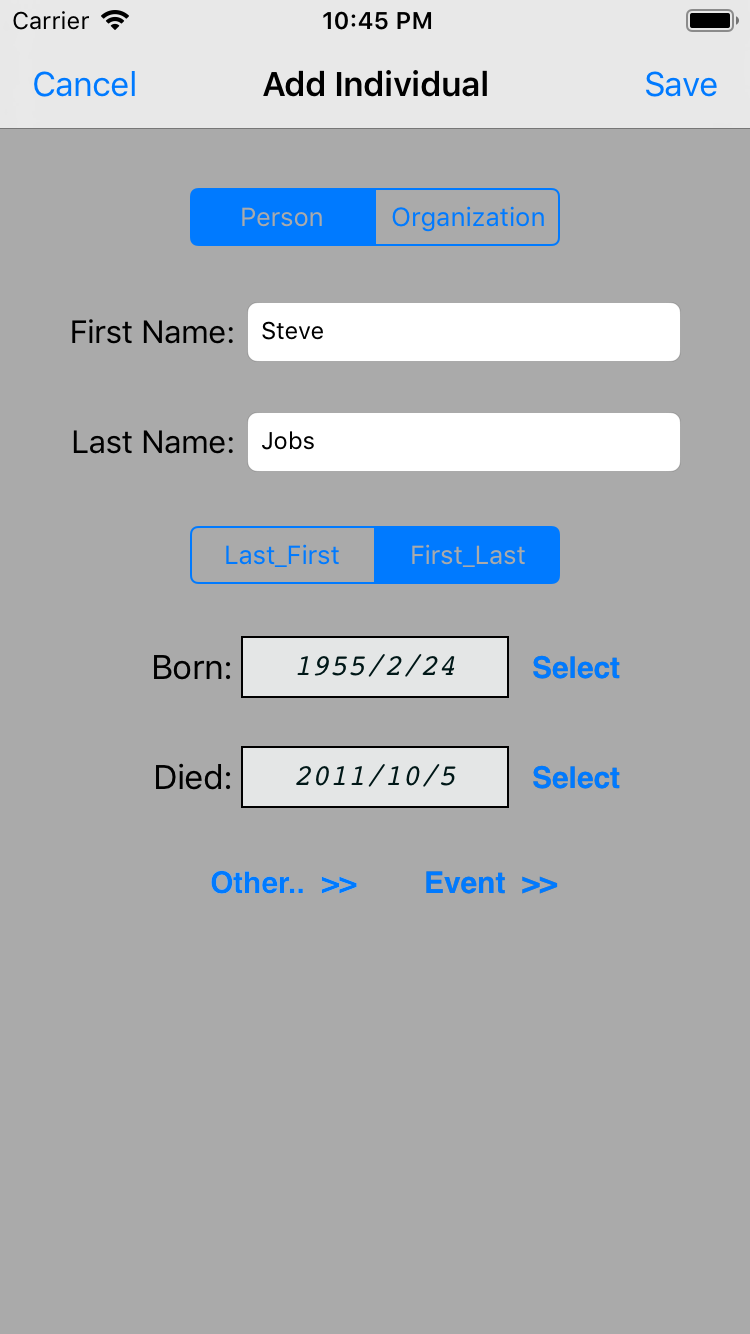
- Enter First Name and Last Name. Select [ First_Last ] segmented control.
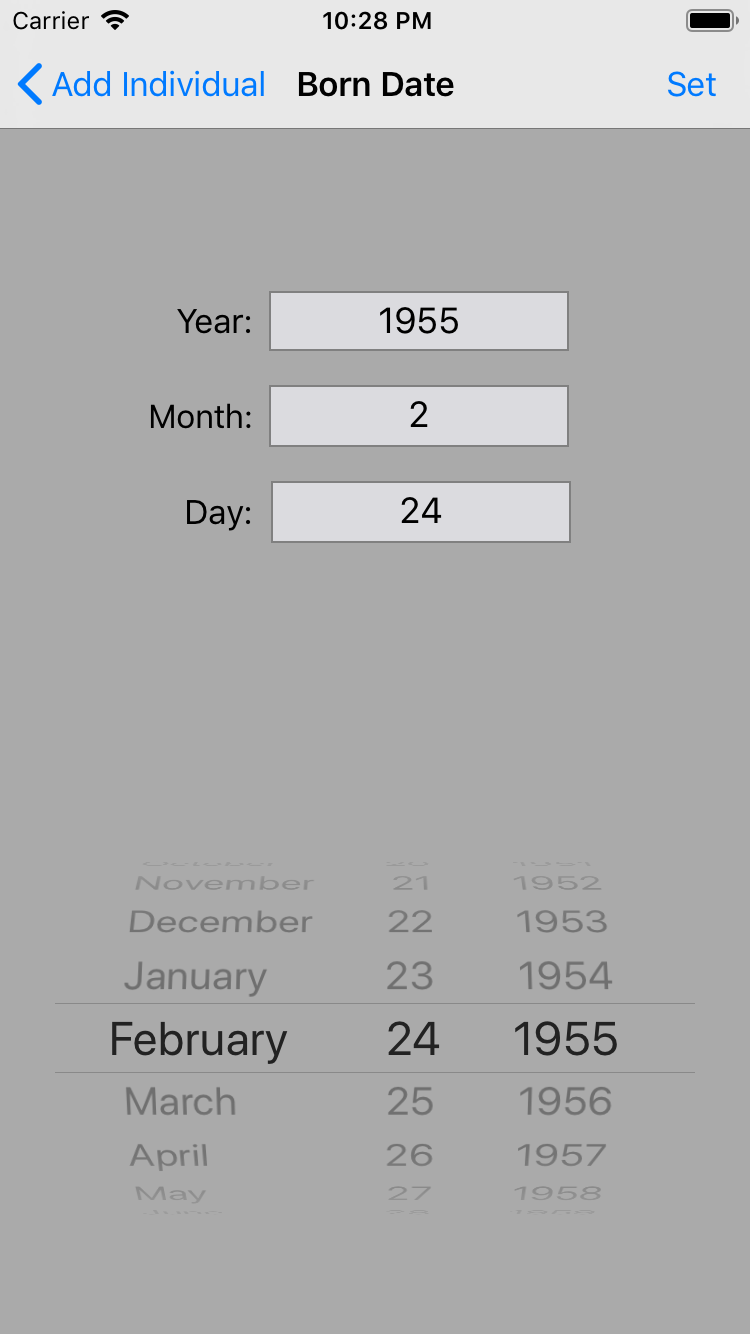
- To set Born date, tap Select button next to Born item.
- Set Born date. Tap the upper right Set button.
- To set Dead date, tap Select button next to Dead item. Set Dead date as well.
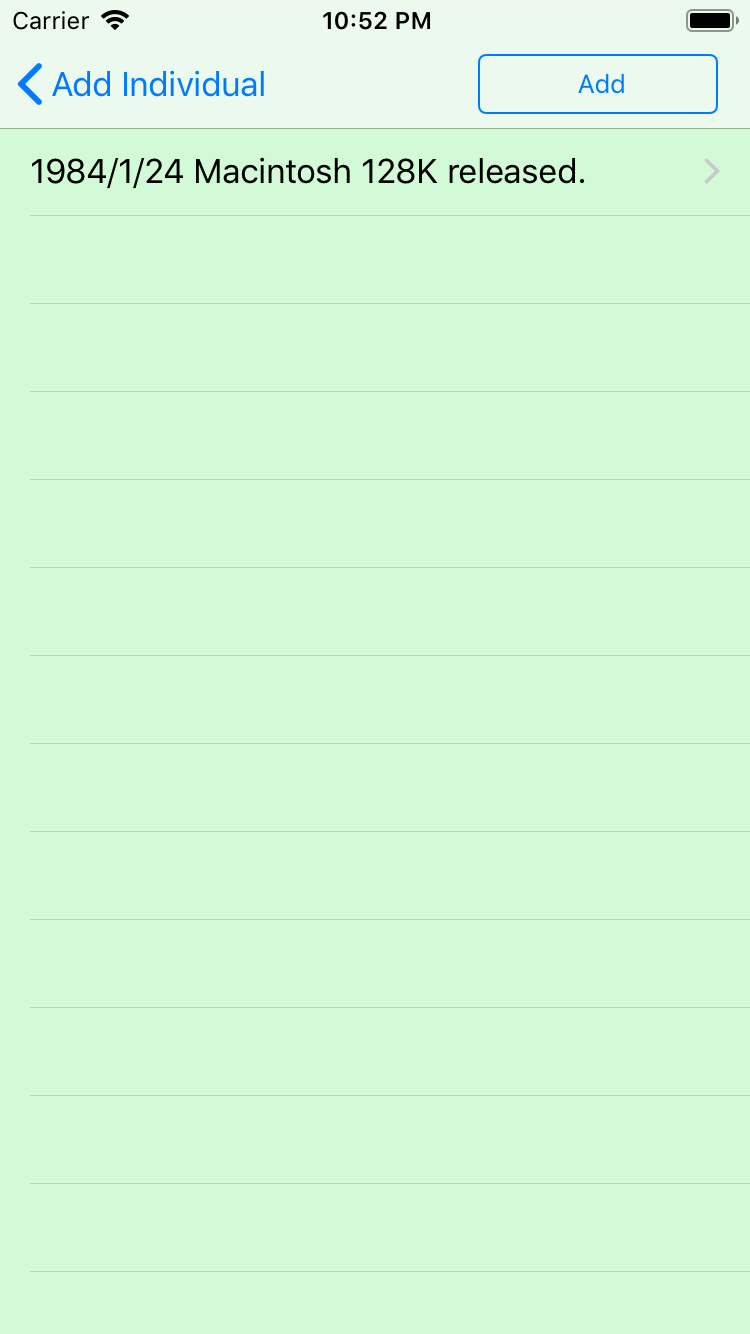
- Tap the Event >> button at the bottom of the screen, and then it's moved to the event list.
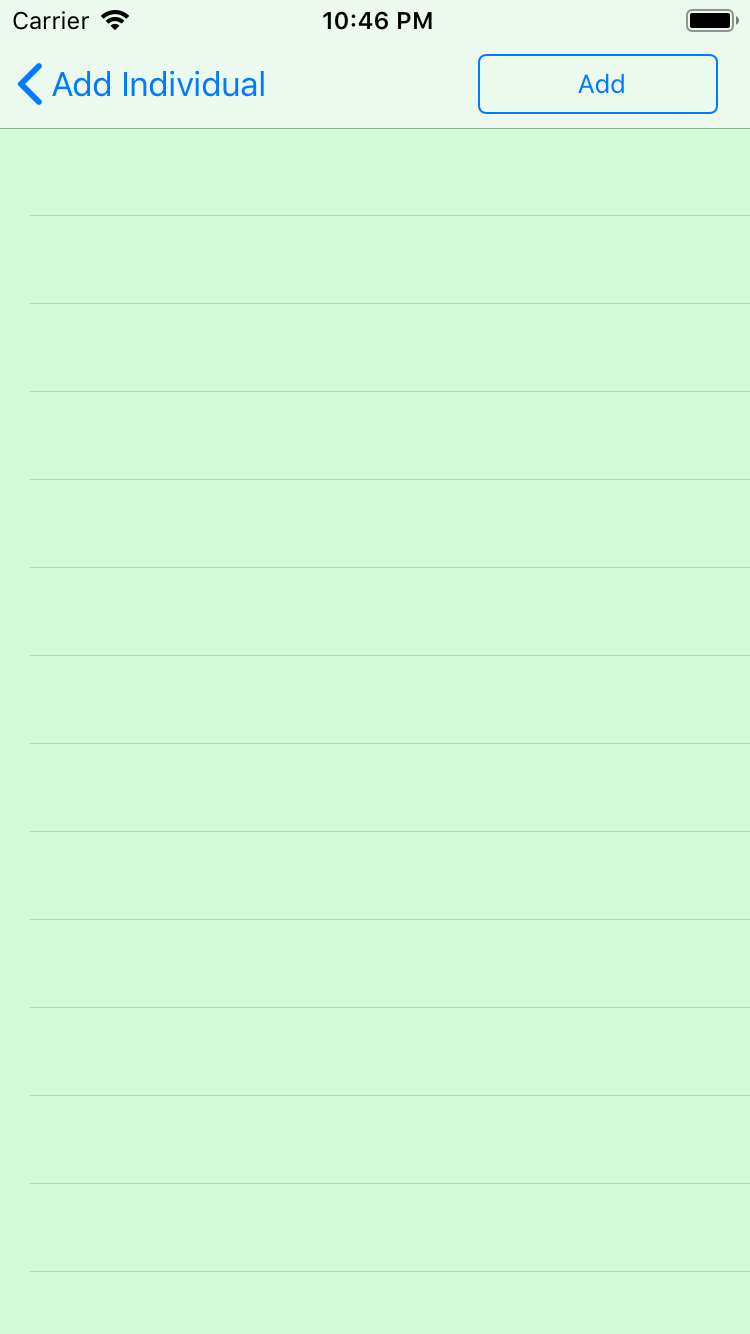
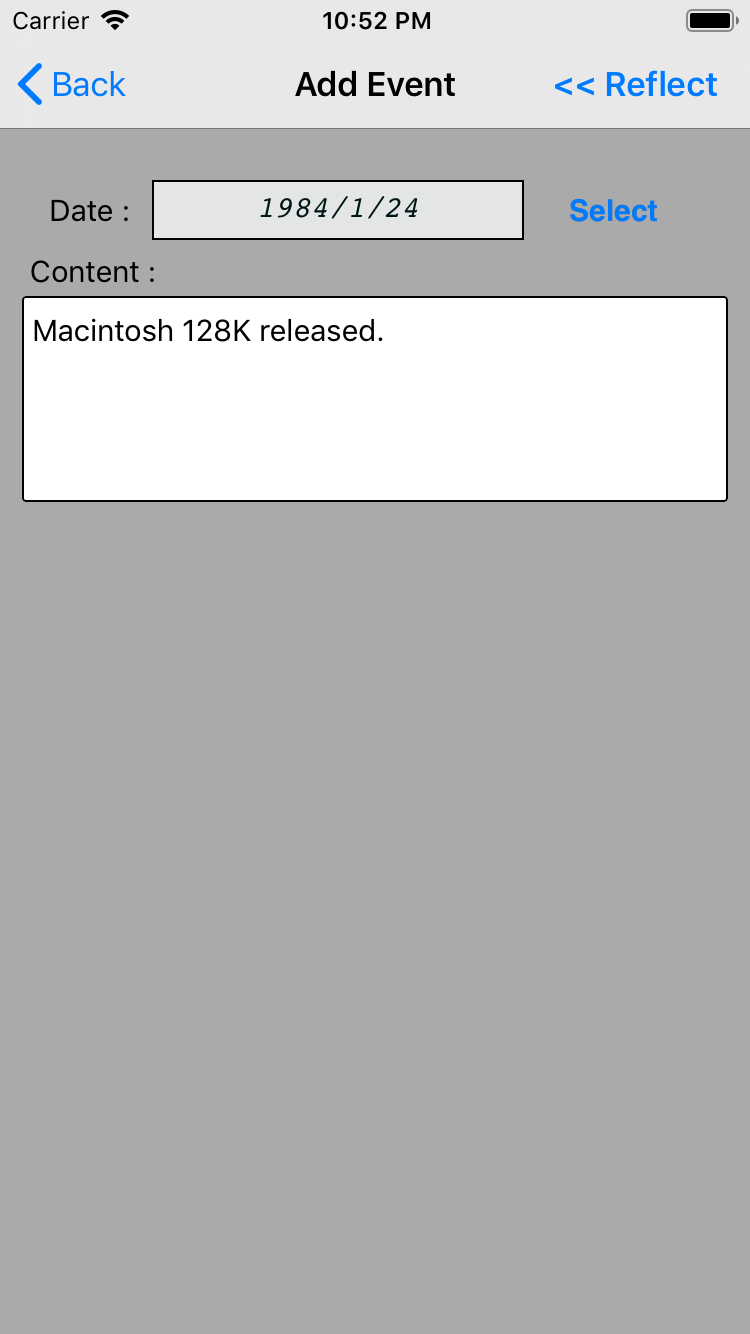
- Tap [ Add ] button on the upper right of the event list.
- Set the event date and enter the event content. Tap the right upper < Back button.
- make the other event as well. Tab the left upper < Add Individual button.
- Tab the right upper Save button
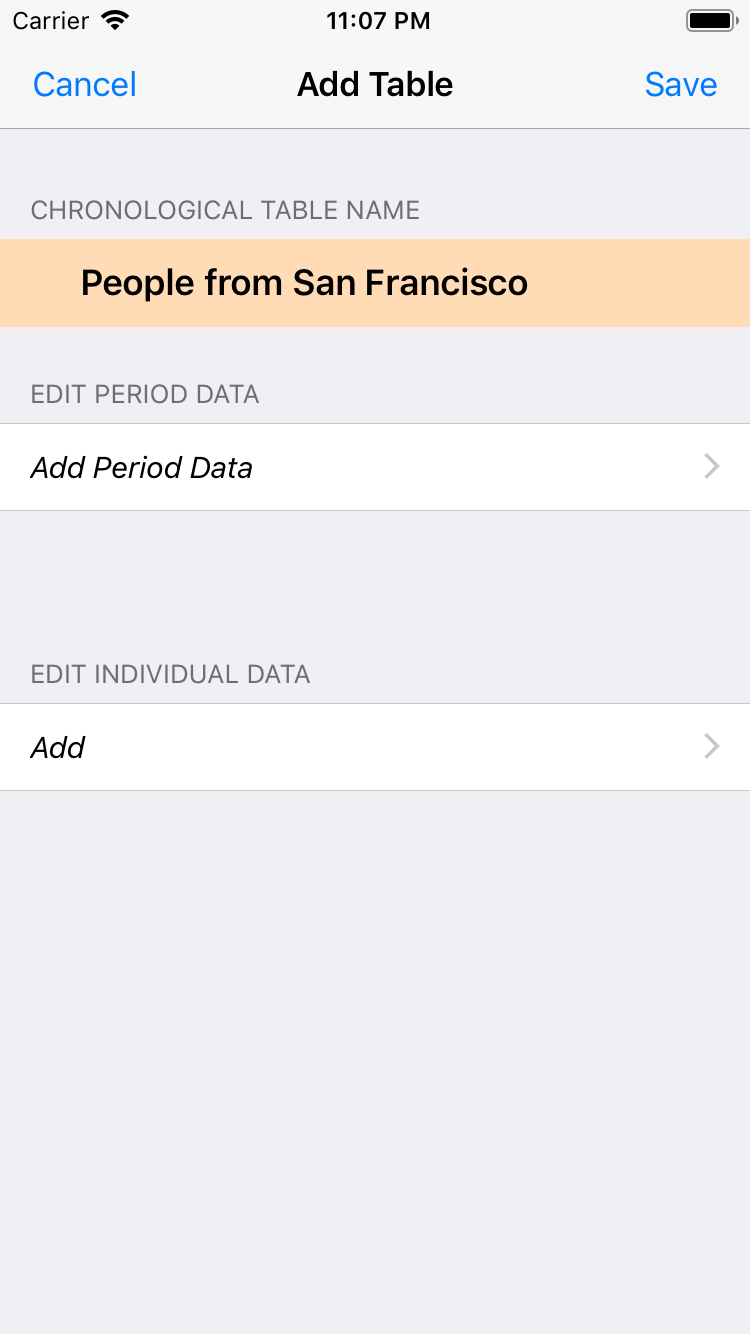
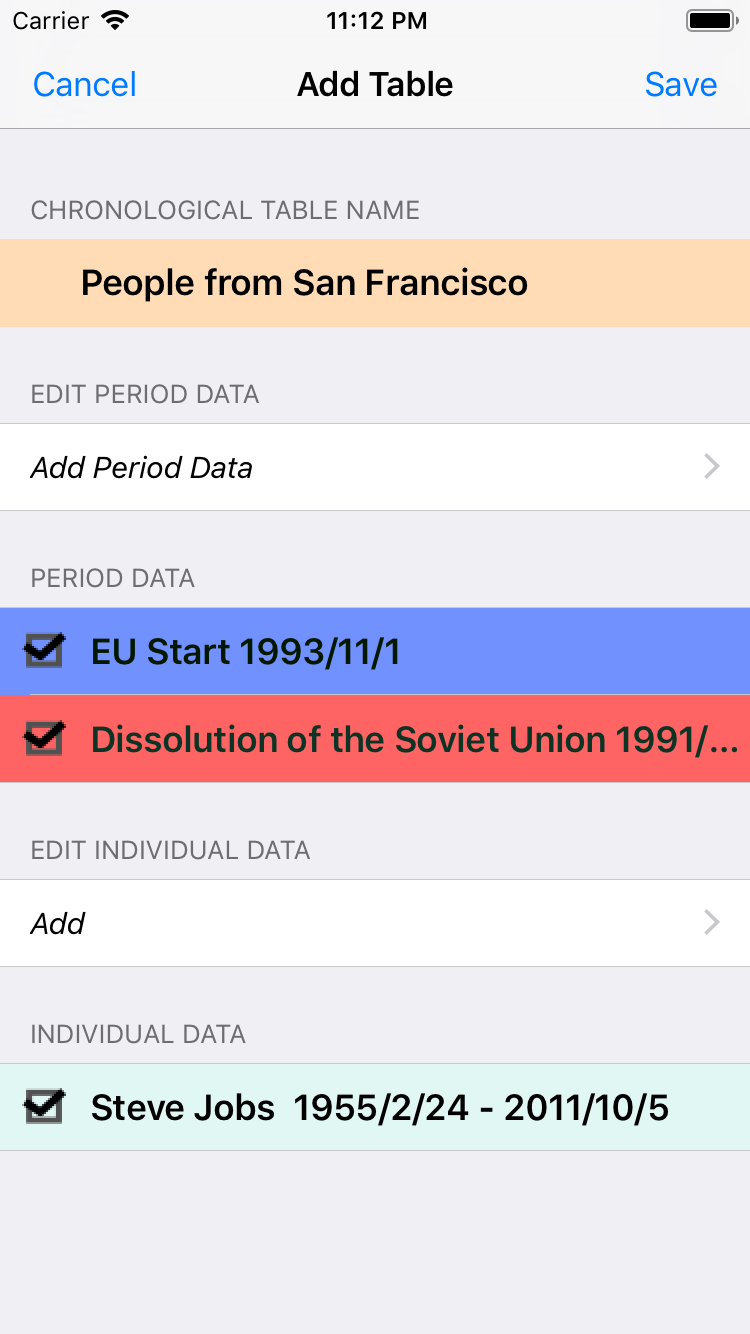
- Tap Add Table item on the main menu.
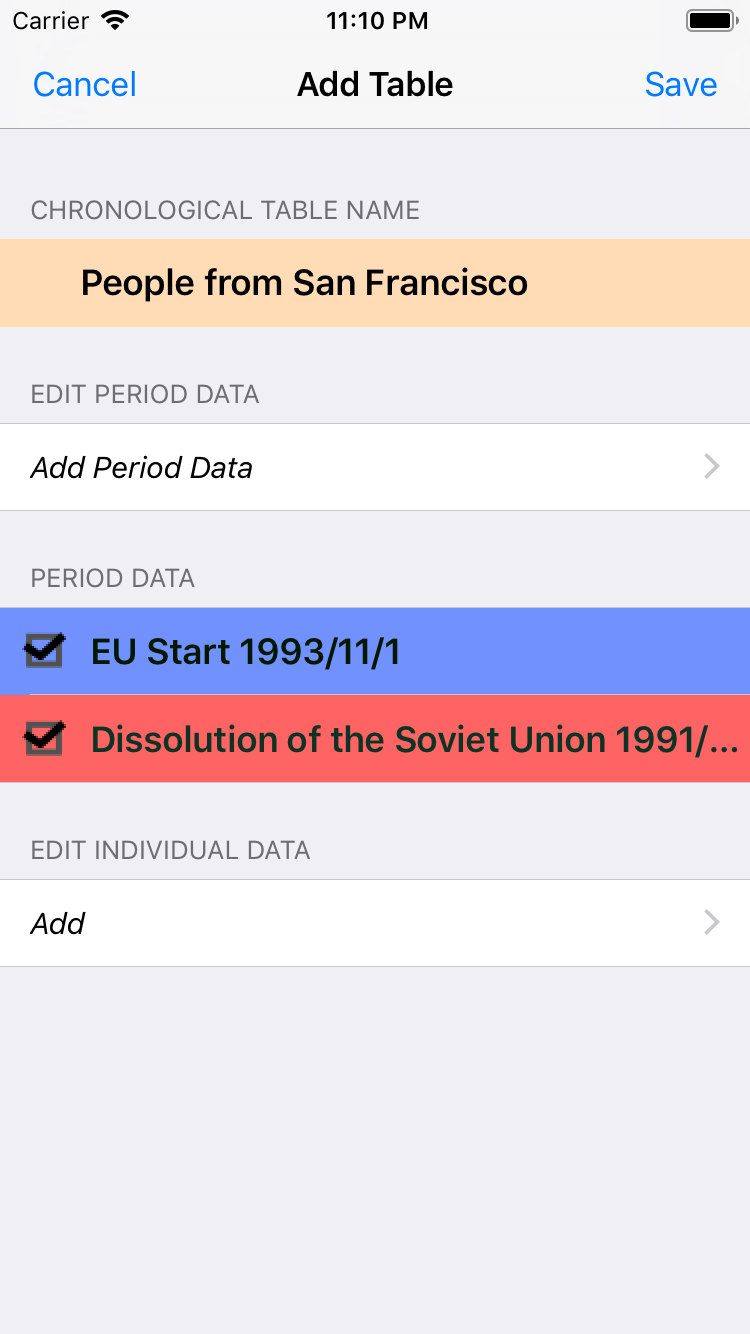
- Enter the name of the table. Tap Add Period Data > item.
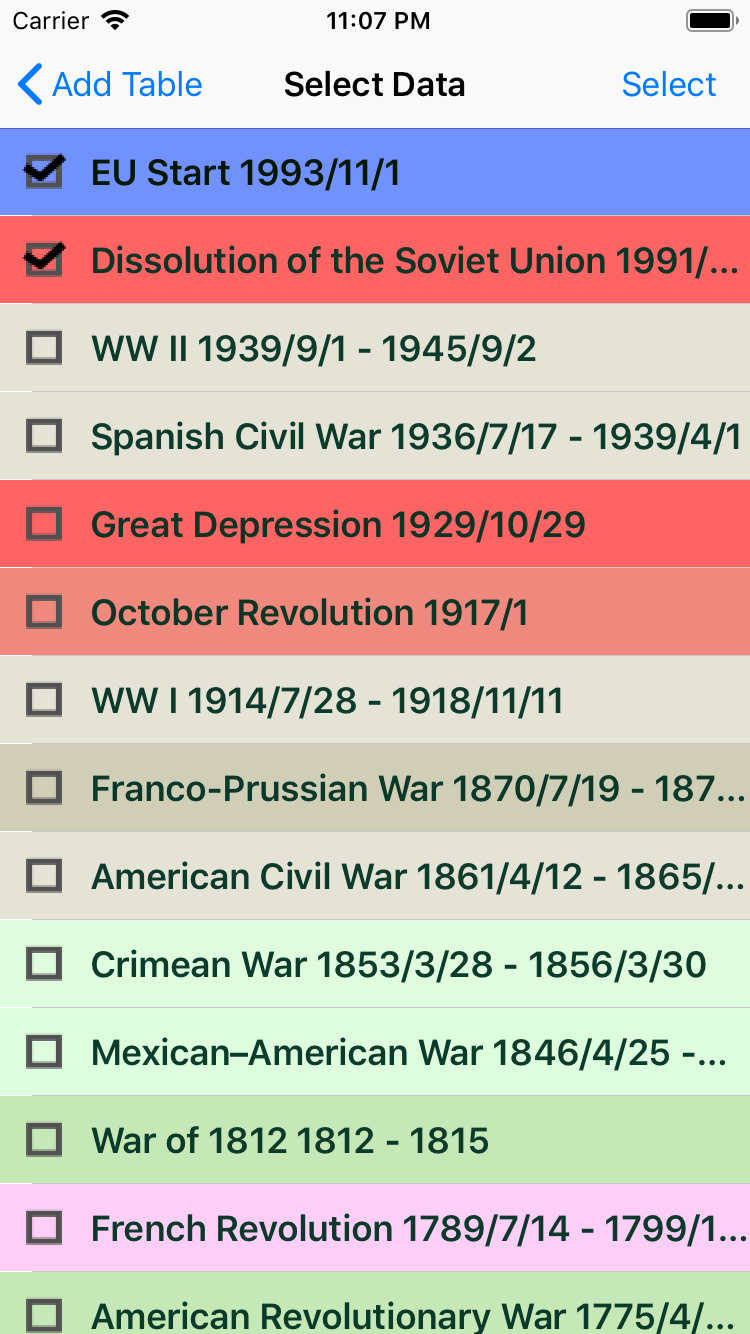
- Select a period. Tap the right upper Select button.
- Tap Add > item below.
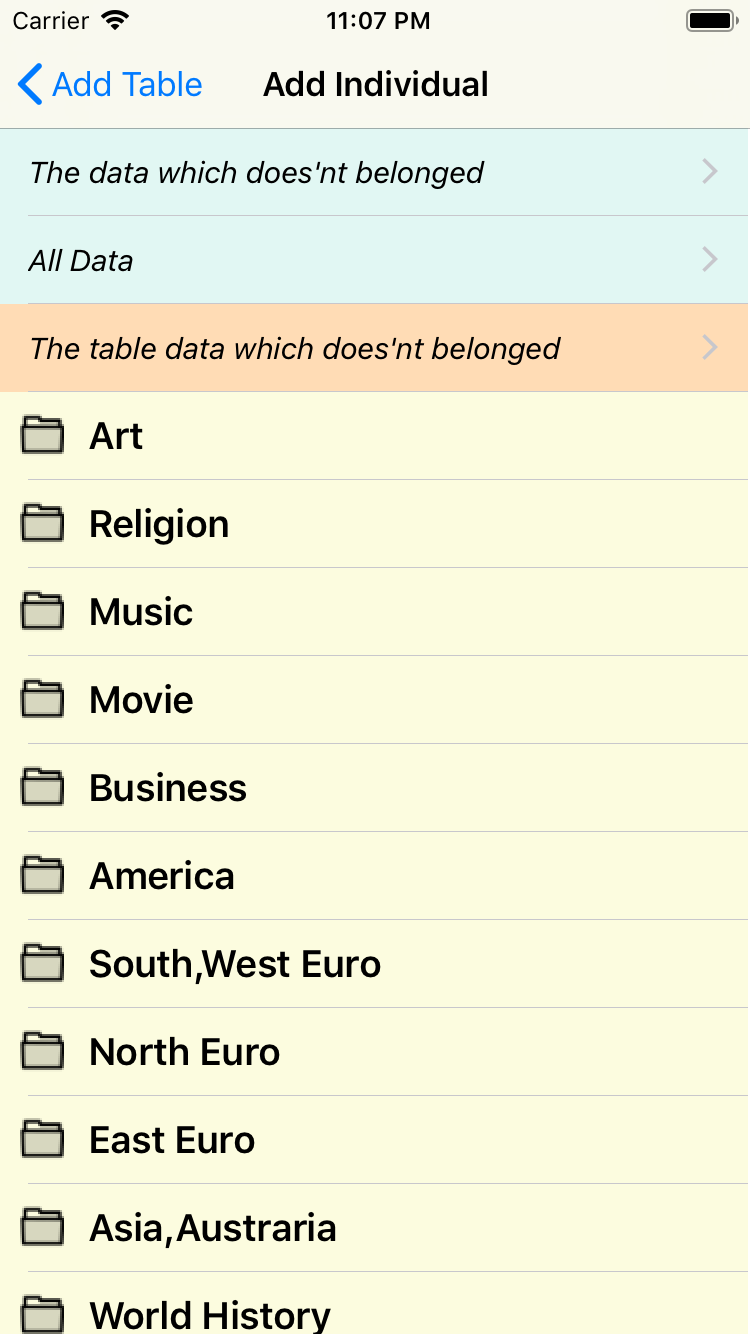
- Tap The data which does'nt belonged > item on the list.
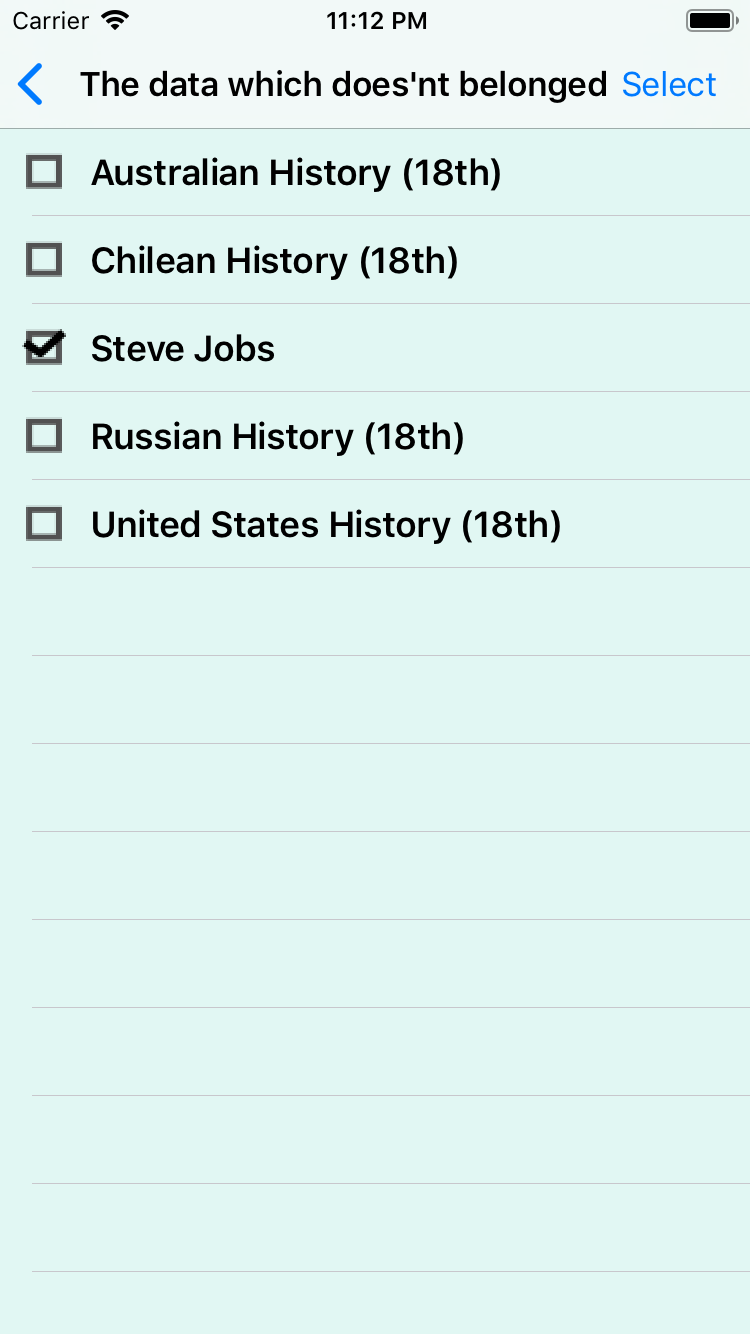
- Select an item. Tap the right upper Select button.
- Tap the right upper Save button.
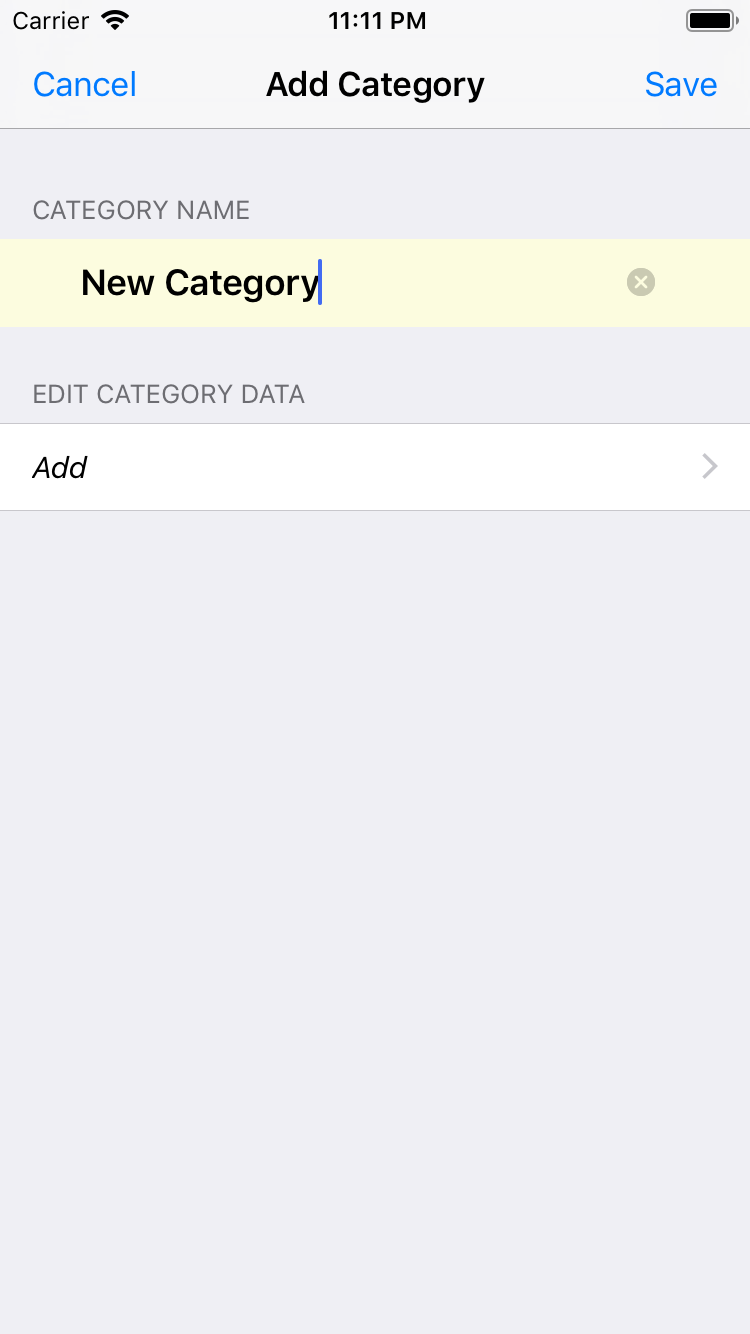
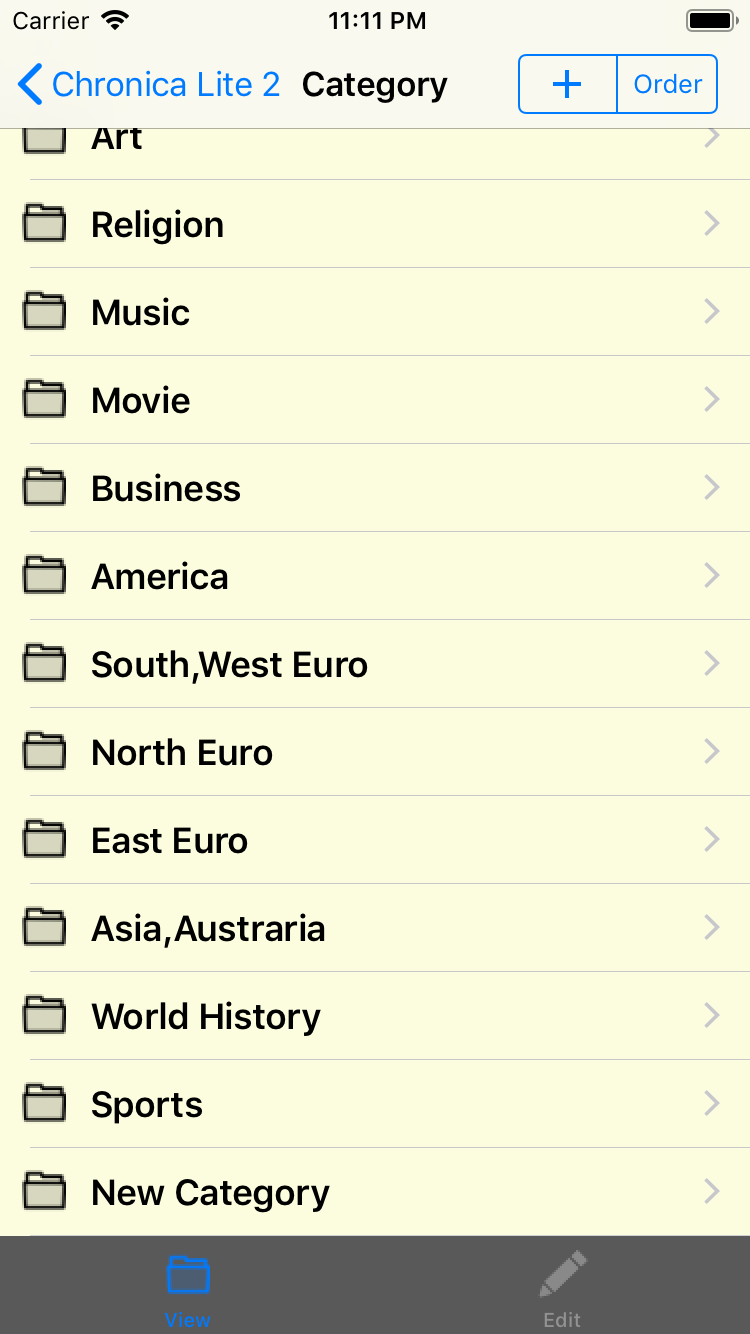
- Tap Category > item on the main menu.
- To make new category, tap the right upper [ + ] button.
- Enter the name of new category. tap Add > item.
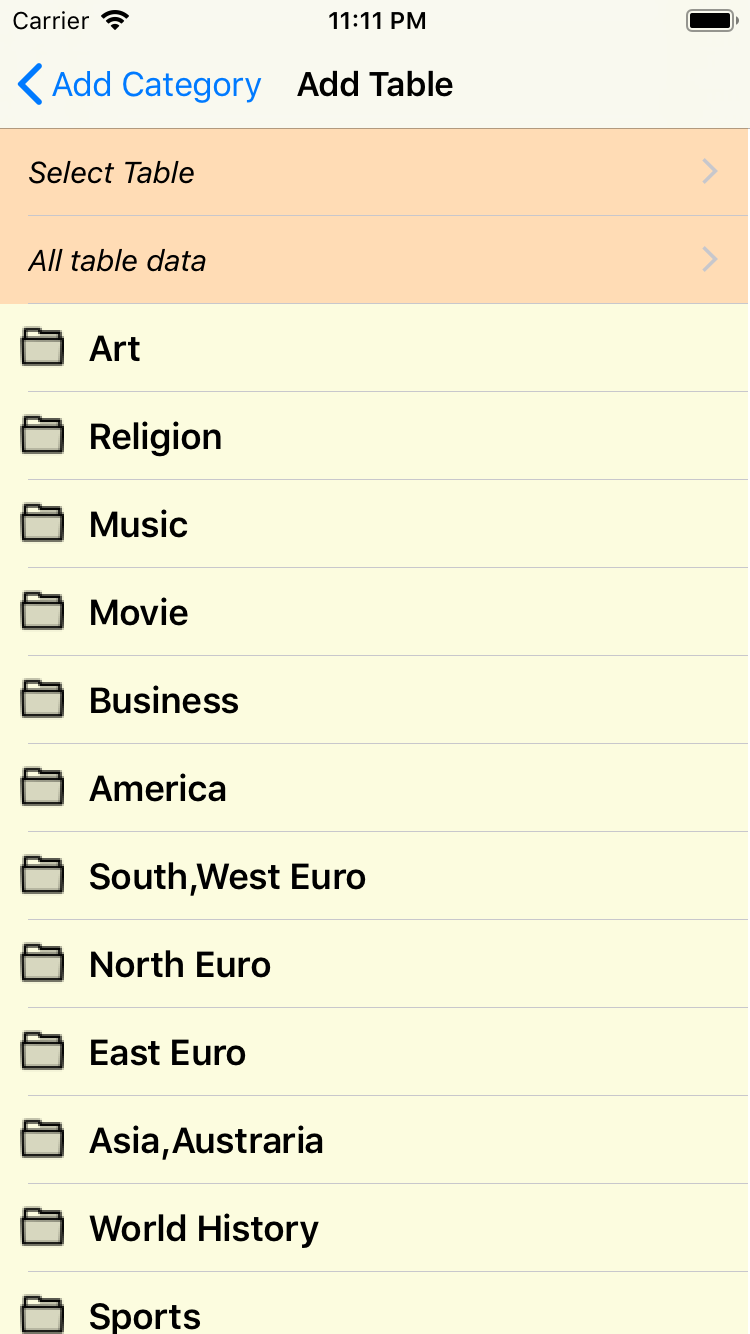
- Tap Select Table > on the list.
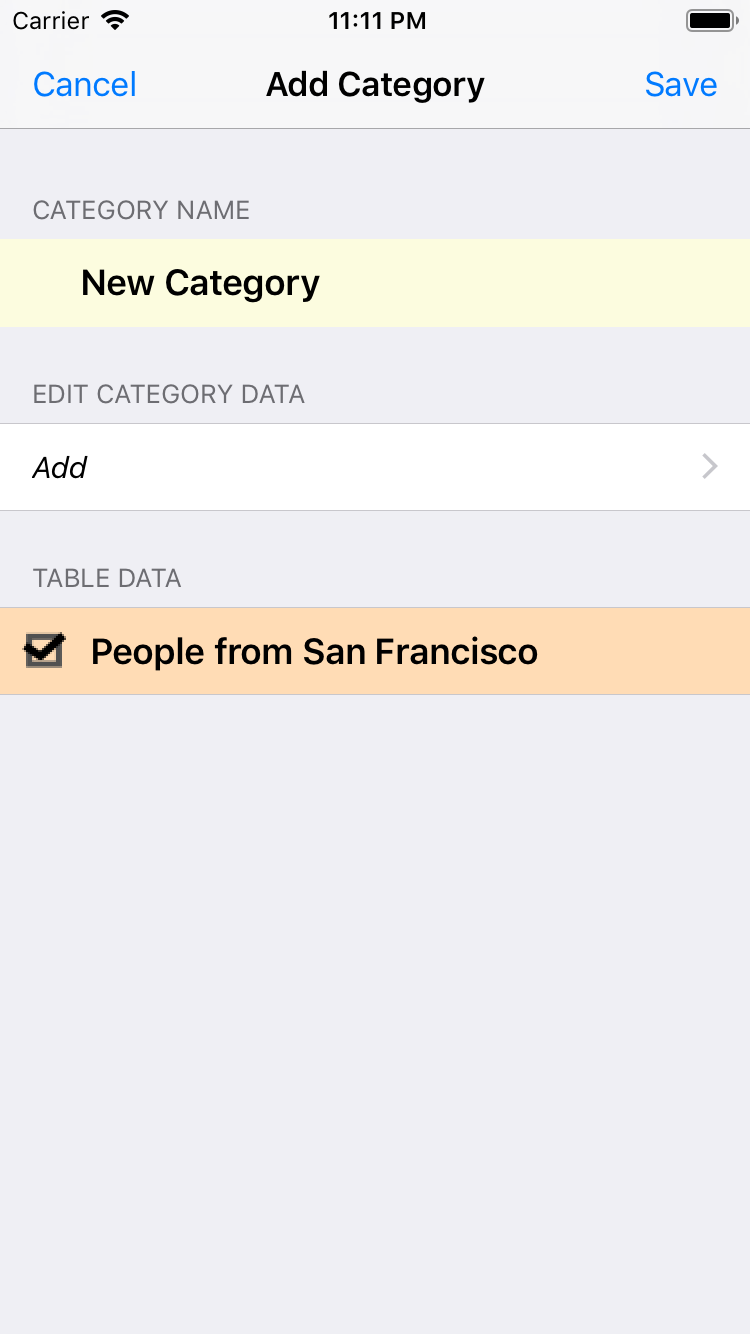
- Select a table item. Tap the right upper Select button.
- Tap the right upper Save button.
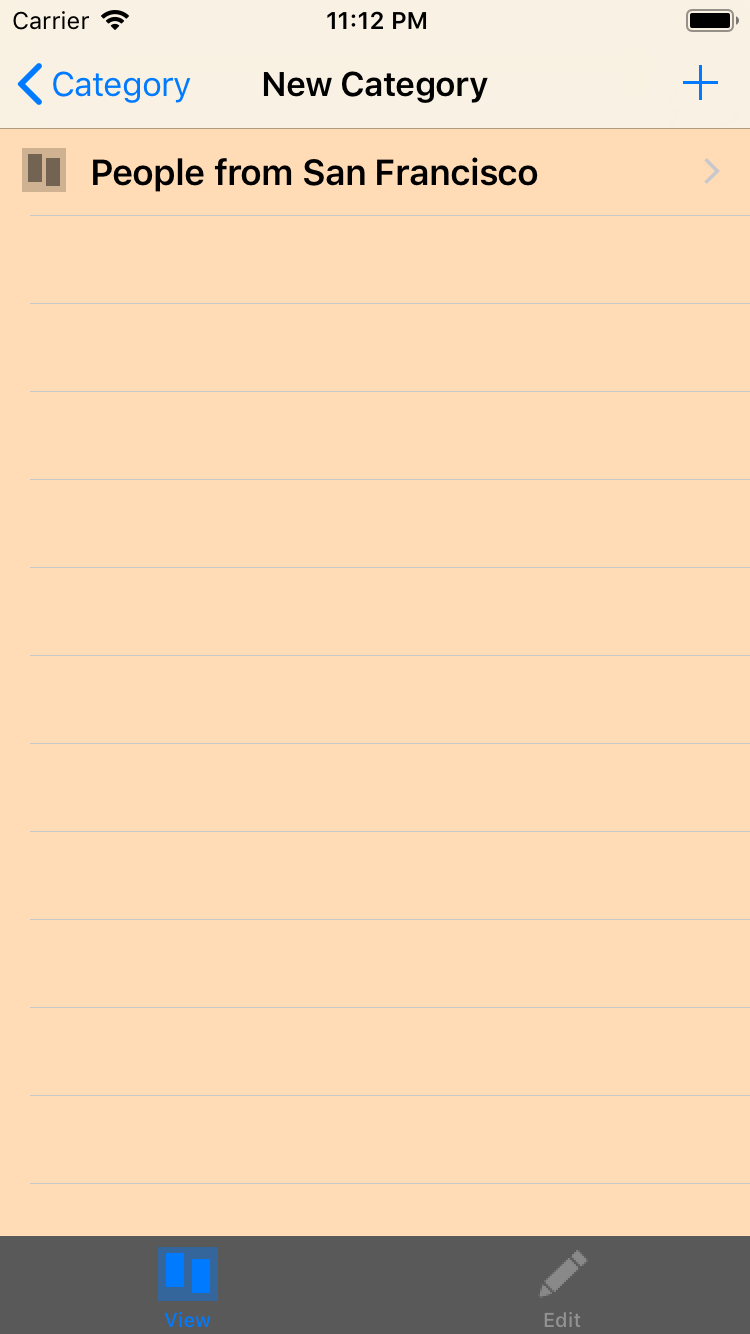
- Select View tab on the bottom of the screen. Tap the newly created category item on the list.
- Select View tab on the bottom of the screen. Tap the newly created table item on the list.
- The newly created table is displayed. Tap the right upper [ Period ] button, and then the display of the period is changed.


Pinch out on the screen to zoom in.
Pinch in on the screen to zoom out.
Tap the event that is not displayed at all, and then the event content window is opened.
