How to make a chronological table individually.
1. Make a category, and it is chosen.
- Push [ + ] button under the category view. A new category is made.
- Enter new category name.
- Select new category item.
2. Make a chronological table and select it.
- Push [ + ] button under the table view. A new table is made.
- Enter new table name.
- Select new table item.
3. Make new Individual/Organization data
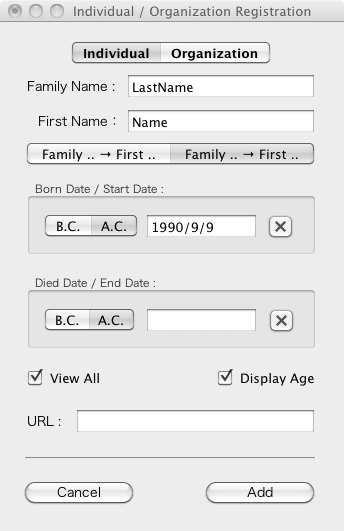
- Push [ + ] button under the Individual/Organization view. "Individual/Organization Registration" window appears.
- Enter each items of its window and push [ Add ] button.
4. Make an Event data
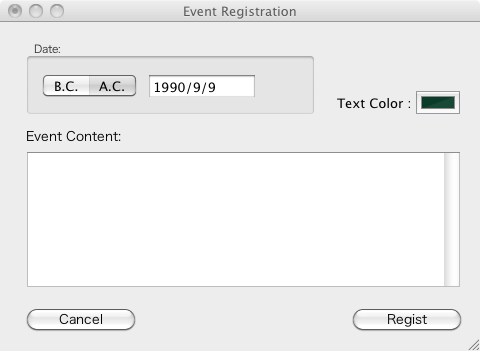
- Push [ + ] button under the event view in the main window. "Event Registration" window appears.
- Input the date and event content.
- Push [ Regist ] button
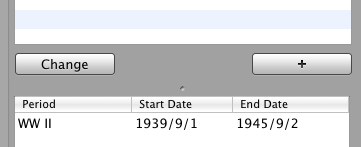
5. Select Period data
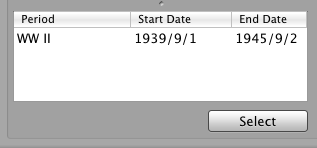
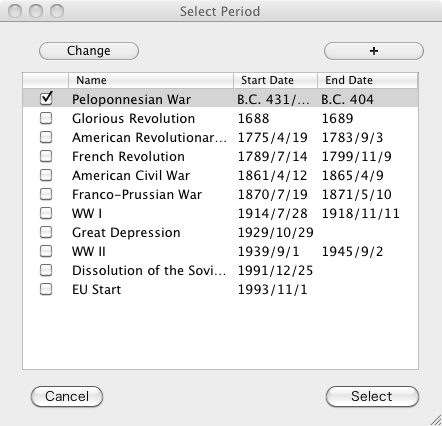
- Push [ Select ] button under the period view. [ Select Period ] window appears.
- Check items in the period list.
6. Generate Table Display window
- [ Display Table ] button under table view. The Table Display window appears.
7. Save as PDF file
- Press [Save PDF ...] menu item of [File] menu of menuber and enter the file name. Its PDF file of selected chronological table is saved.


