Table Display Window
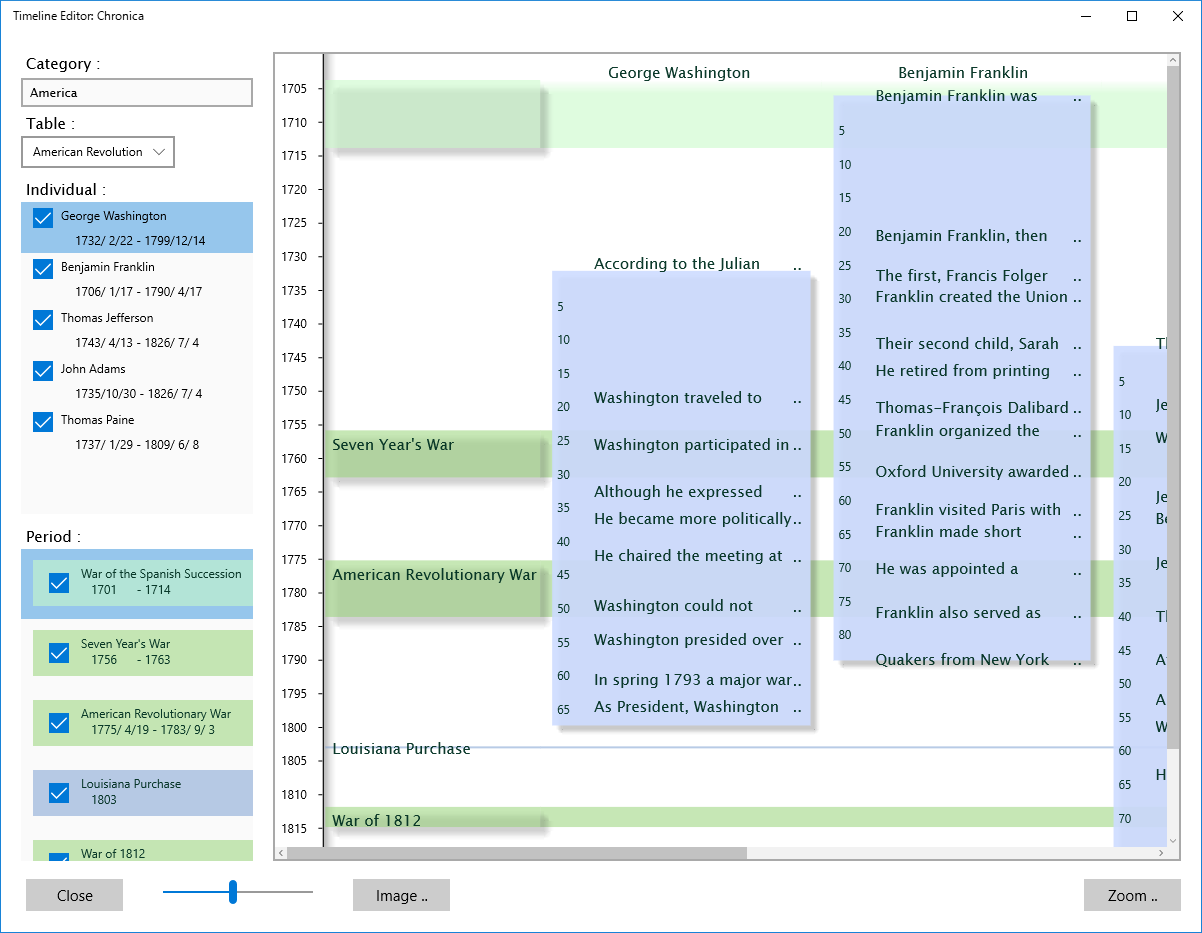
Select the table and press the [ Display Table ] button in the main screen to open the table display screen.
The table selected in the main screen is displayed in this screen.
The table displayed is selected from left table list.
When the item of the Individual list is unchecked, its data is not displayed.
When the name part in the picture part, the URL of its data is displayed in the web browser.
In the picture part,
Press the right button of the mouse and drag to right, width size of individual/organization spreads out.
Press the right button of the mouse and drag to low, one year unit size spreads out.
When it is moved in the backward, these are decreased in the opposite direction.
If you are using a touch panel, by Touch with two fingers, to vary the spacing of the finger, you can change the size.
When the event which is not displayed all text is clicked, its all text is displayed.
[Image .. ] Button
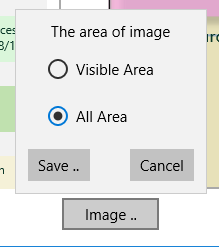
Press the [ Image .. ] button under the table display screen to open "The area of image" dialog.
"Visible Area" is the table area currently displayed.
"All Area" is all area of the table.
Press the [ Save .. ] button, the table image is saved as the .png format file.
If you choose "All Area", please edit the output image file by other application.
Below applications are convenient to edit,print the image of .png file format.
Gimp ( https://www.gimp.org/downloads/ )
Inkscape ( https://inkscape.org/en/download/ )
<< Back


