How to make a chronological table individually.
1. Make a category, and it is chosen.
- Push [ + ] button under the category view. "New Category Data" dialog appears.
- Enter new category name.
- Select new category item of the list.
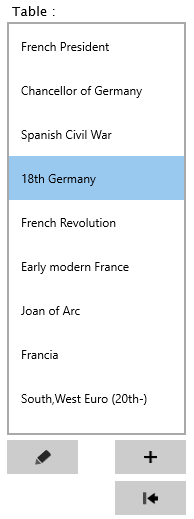
2. Make a chronological table and select it.
- Push [ + ] button under the table view. "New Table Data" dialog appears.
- Enter new table name.
- Select new table item of the list.
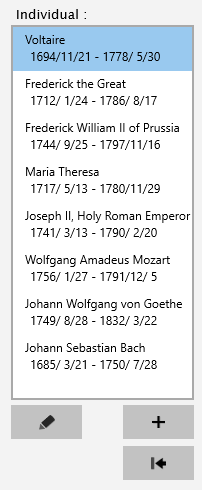
3. Make new Individual/Organization data
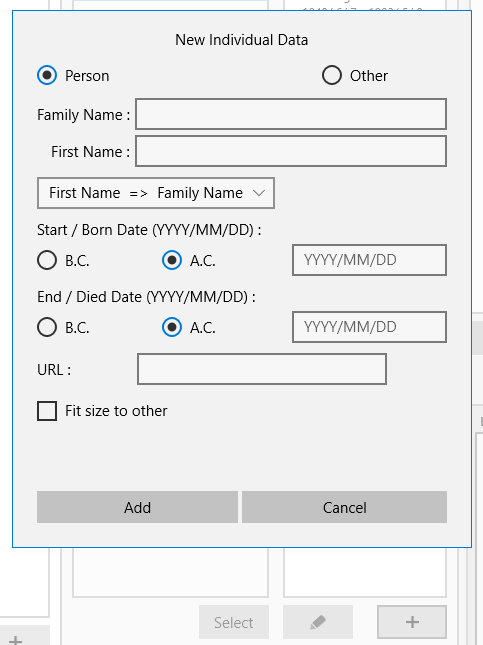
- Push [ + ] button under the Individual/Organization view. "New Individual Data" dialog appears.
- Enter each items of its window and push [ Add ] button.
- Select new item of the list.
4. Make an Event data
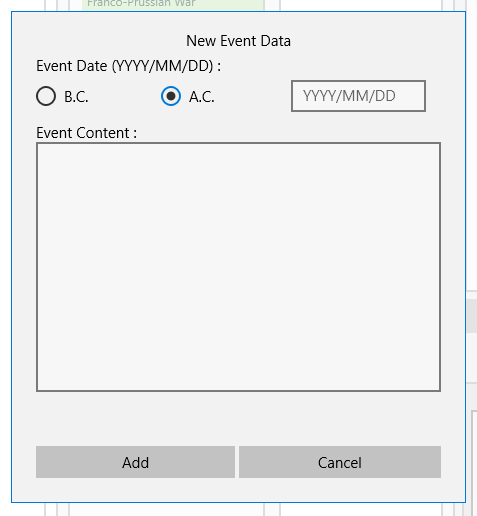
- Push [ + ] button under the event view in the main window. "New Event Data" dialog appears.
- Input the date and event content.
- Push [ Add ] button
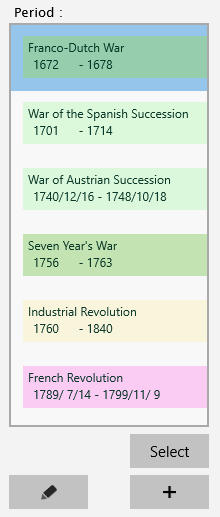
5. Select Period data
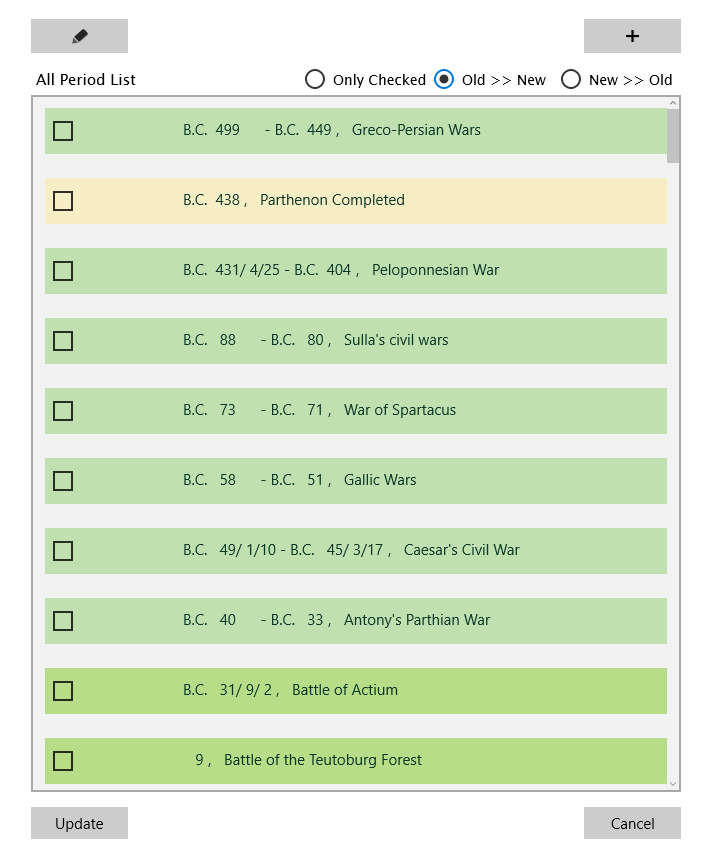
- Push [ Select ] button under the period view. "All Period List" screen appears.
- Check items in the period list.
- Press the [ Update ] button.
6. Generate Table Display window
- [ Display Table ] button under table view. The Table Display window appears.
7. Save as .png file
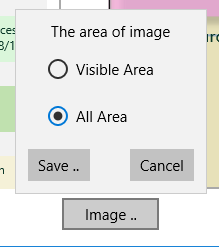
Press the [ Image .. ] button under the Table Display screen and save the table image file.
Below applications are convenient to edit,print the image of .png file format.
Gimp ( https://www.gimp.org/downloads/ )
Inkscape ( https://inkscape.org/en/download/ )
<< Back
